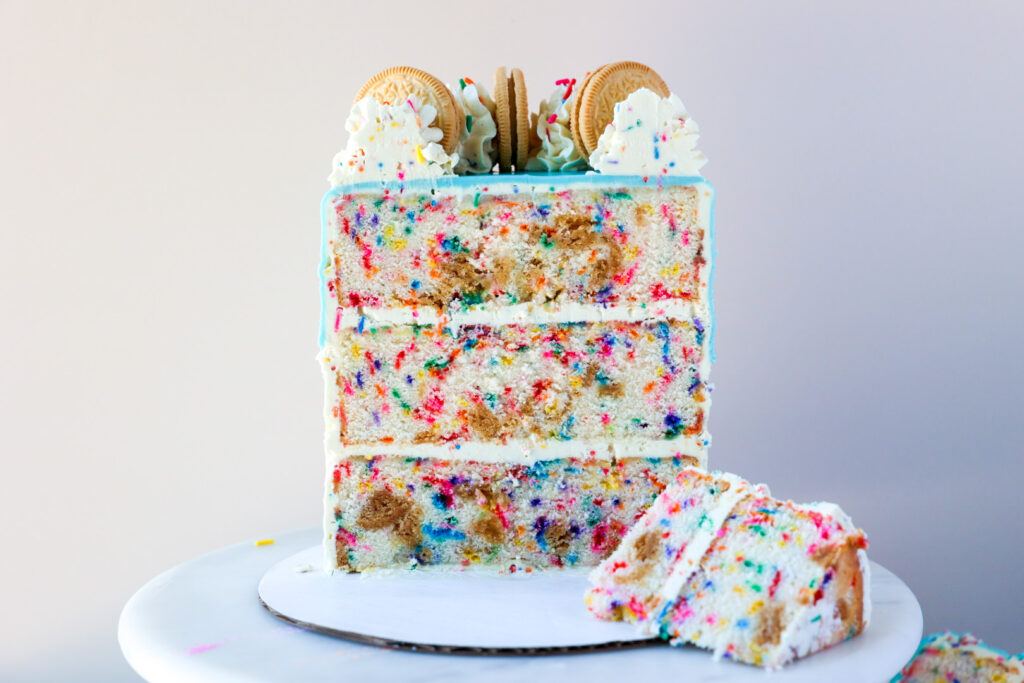
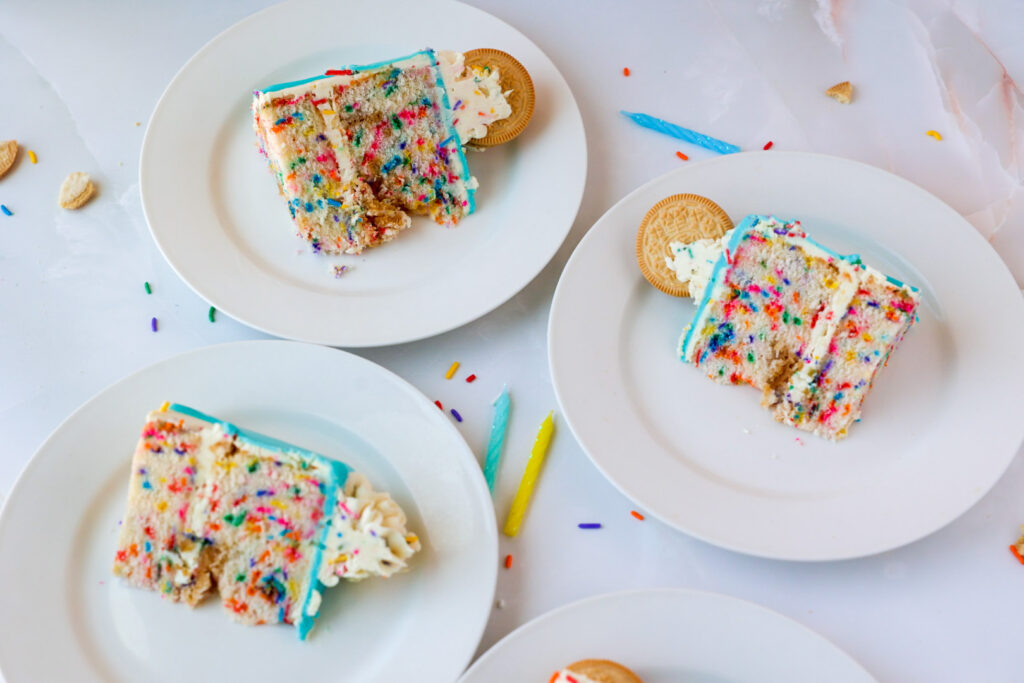
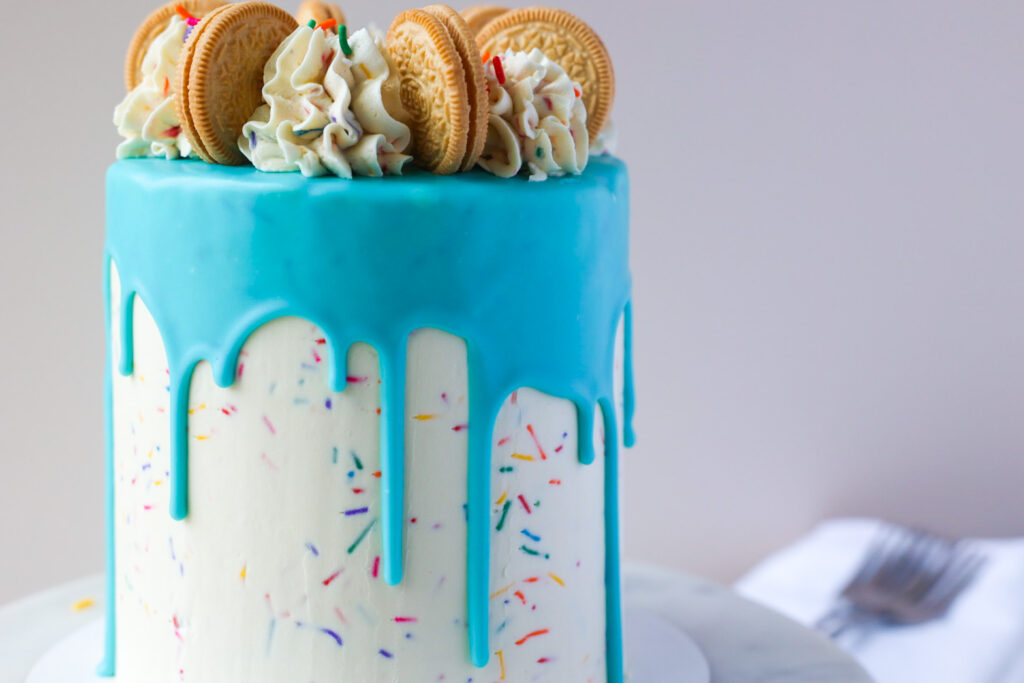
This ultimate birthday cake is full of golden oreos, cheery sprinkles, classic vanilla birthday cake flavor, and birthday cake flavored (and sprinkled for good measure) buttercream. Phew. It’s also topped with a beautiful colored ganache drip to knock the socks off of your friends and family.
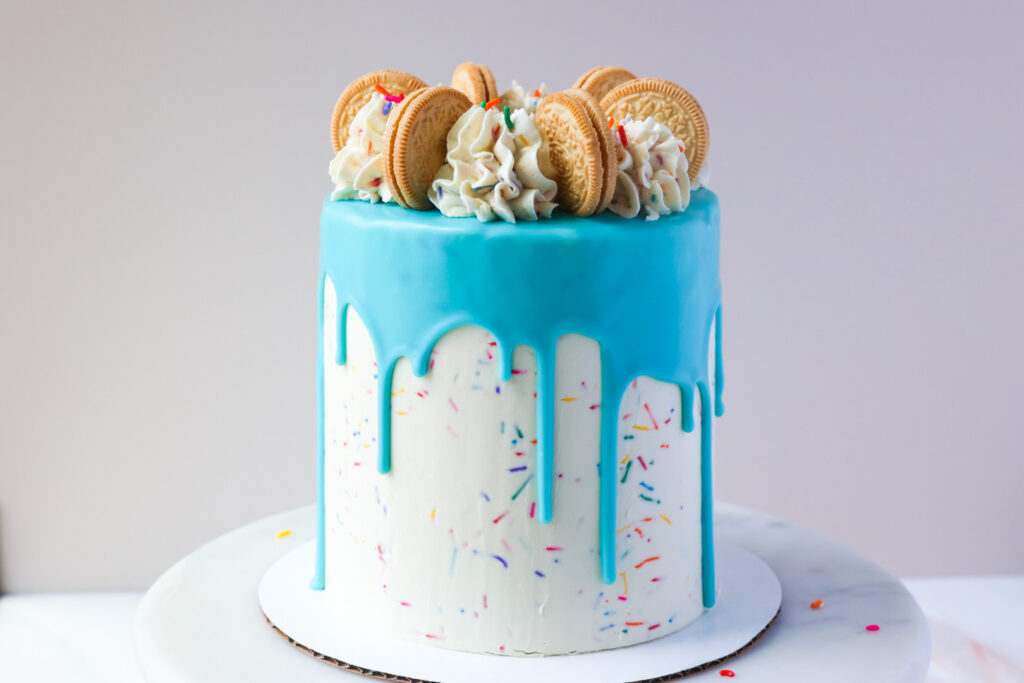
I started my cake making journey because I love the feeling of giving someone a show stopping birthday cake! So we will go over the recipe in this post and discuss how to make it look like this!
Tools to make the cake
You’ll need a mixer with whisk and paddle attachments, a sifter to sift your powdered sugar, 6 inch cake pans, cooking spray, a bowl, baking foil, parchment paper, and a scale. You’ll also want some sort of cake board. I usually like to go one size bigger than what I’m making. You can get these at Walmart or craft stores. If you plan to decorate the top of your cake like this one, you’ll want a very fat/open tip. I used Ateco 849. A cake turn table is helpful, some people even use a lazy Susan.
To make the cake layers
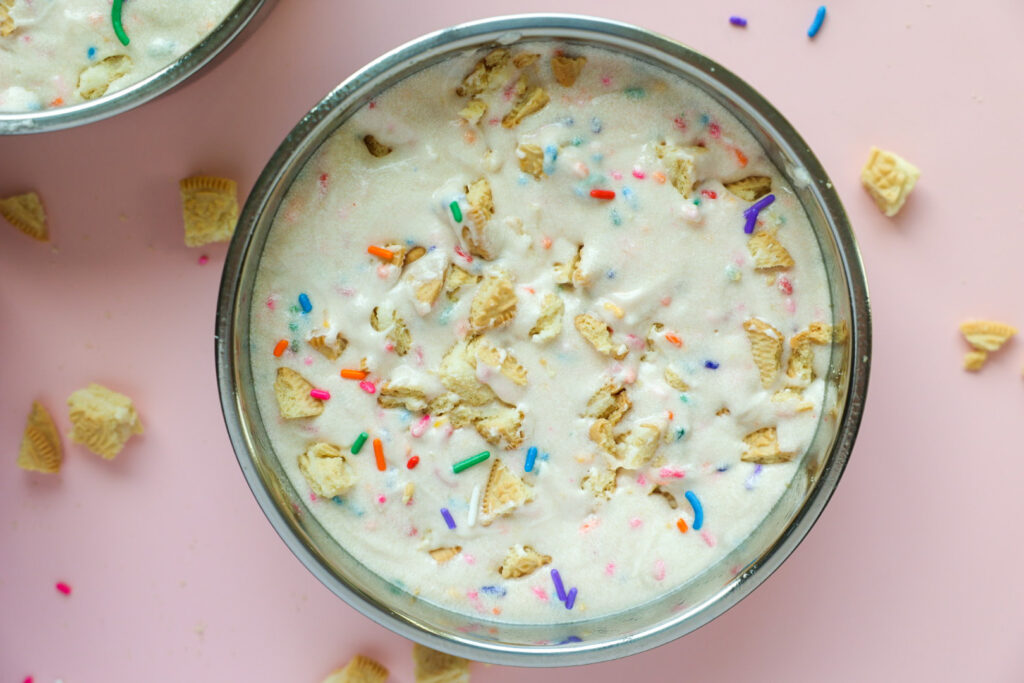
We will use the reverse creaming method to make a nice tight crumb and flat cakes. Then it will be baked nice and slow at 330 degrees. If you want to learn more about why I use this method you can read my cake recipe post here. We want to keep the cake as white as possible to show off the golden Oreos and sprinkles. To do that this recipe will use egg whites only (carton is ok) and imitation vanilla because it’s clear. And doesn’t imitation vanilla have a classic birthday cake flavor?!
Once you make your basic batter add your sprinkles and fold those in with a spatula. Divide the batter evenly between your prepared cake pans. I used 18 oz each. Then cut up your oreos, put them on top of the cakes and push them in a bit to distribute them. Four oreos per cake pan worked out nicely.
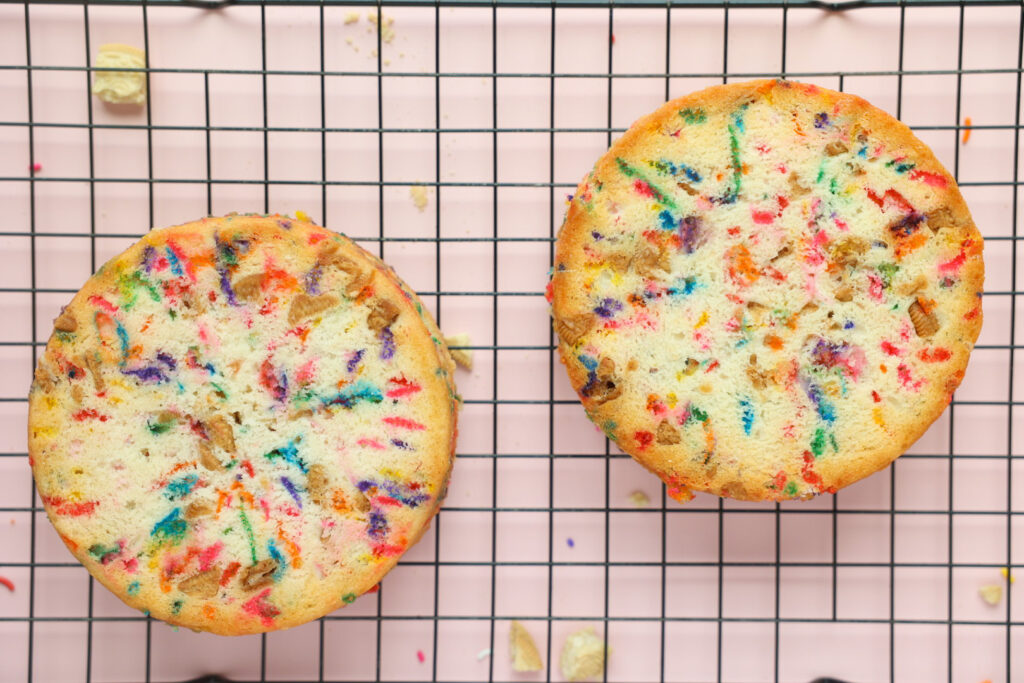
Let them cool completely before moving on to the next step. In fact, I recommend baking them the day before you plan to decorate and storing them in the freezer, and decorating from frozen.
For the Buttercream
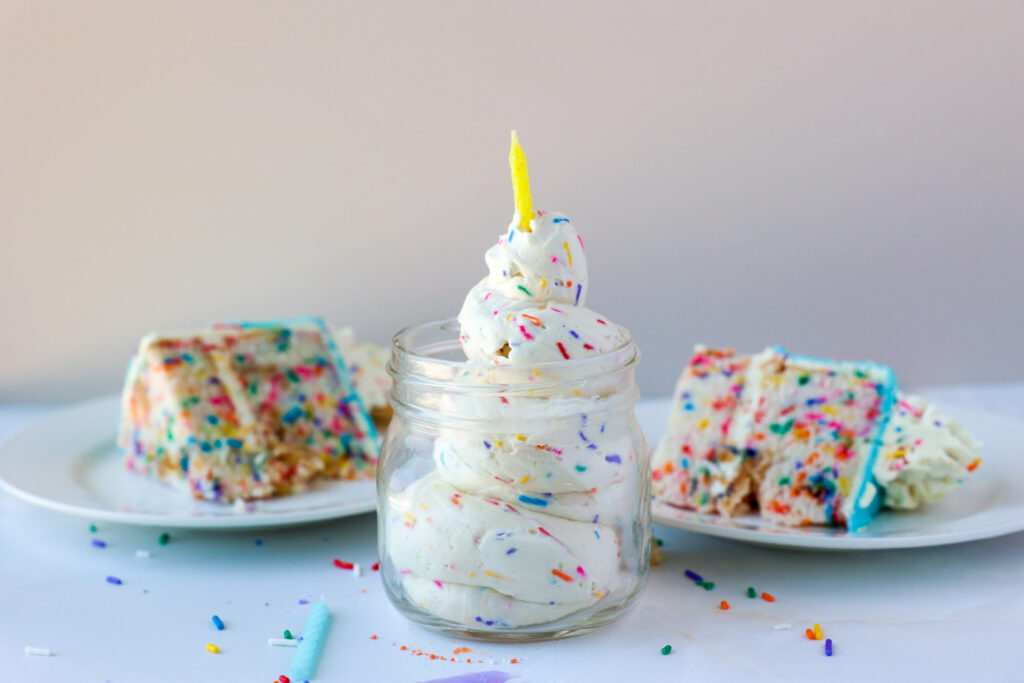
This recipe is my standard Faux Swiss Meringue Buttercream recipe with cake batter flavoring and sprinkles. I also added a drop of purple gel coloring because the cake batter flavoring turns the buttercream a shade of yellow. Purple is opposite yellow on the color wheel and can help neutralize it! Pretty cool.
If you prefer you can wait until your final coat of buttercream to add the sprinkles, but it’s not necessary. If you plan to decorate the top with buttercream and don’t have a large piping tip to use I recommend leaving some without sprinkles so you don’t clog a regular sized nozzle with the sprinkles.
To Assemble the Cake
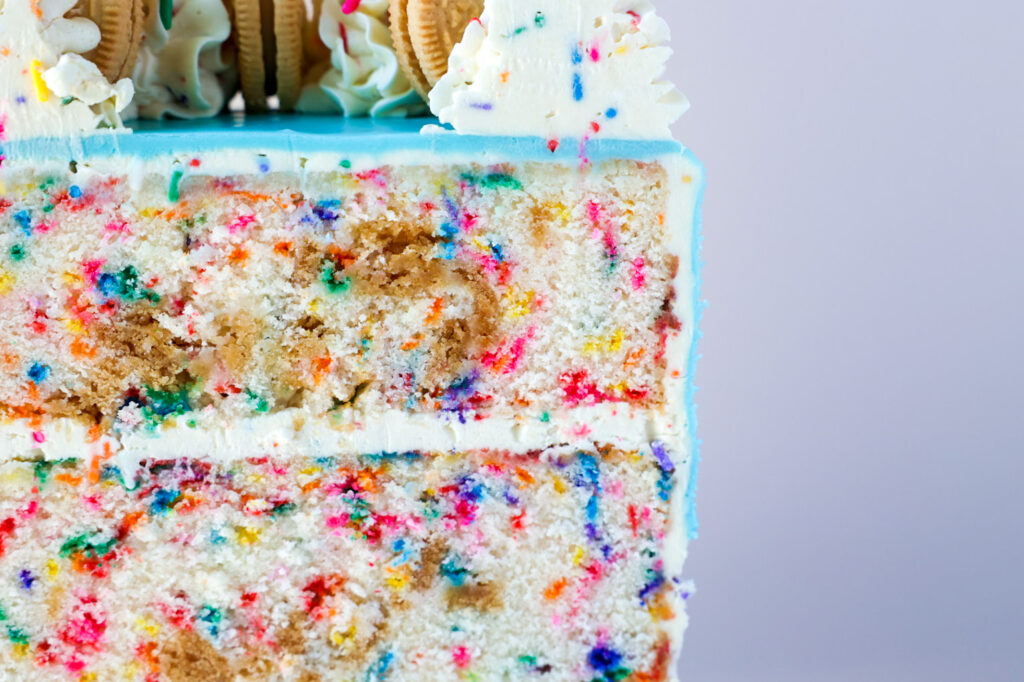
We will begin by stacking and crumb coating the cake. Once the cake is crumb coated put it back into the refrigerator to firm the buttercream, about 15-20 minutes. Once it’s firm You can make your final coat. Smoothing this can be a bit tedious because of the sprinkles but in my opinion it is so worth it. Fill any buttercream holes and just keep smoothing until it is how you like it. Once you’re happy with it you’ll put it in the refrigerator and give it plenty of time to get nice and cold before you move on to your drip.
About the Drip
My drip recipe is next. I had to rewrite this a couple times because I couldn’t take the word “I” out of the equation because this super simple recipe feels really personal to me. I’ve had a lot of trial and error to figure this out and lots and lots of people asking me about it. Then they turned around and share it as if it’s their own. I’m not sure why it feels personal. It just does. I feel like I’m telling you my bra size. I want everyone to make pretty drips though so here we go.
To make the Drip
It’s simple, but if you don’t do it right you’ll have a mess. 100 g candy melts, 33 g heavy cream. Put them in a bowl together and microwave for 30 seconds. Make sure the candy melts are covered and let it sit for a couple minutes before touching it. Then with a rubber spatula, slowly stir it. Slowly. You do not want to add a lot of air bubbles into it because it’s difficult to get rid of them. I frequently will tap my bowl on the counter. Stir, stir, and stir some more. If after you’ve stirred it 1,000,000 times and it’s still not a smooth consistency give it 10 more seconds in the microwave. Continue until it looks smooth. Tap the bowl checking for air pockets. Pop them if you see any.
The temperature is very important. It needs to be warm enough to melt back into itself, but not so warm that it’s going to melt your buttercream. I ask myself if it would be too warm for a baby skin before pouring it.
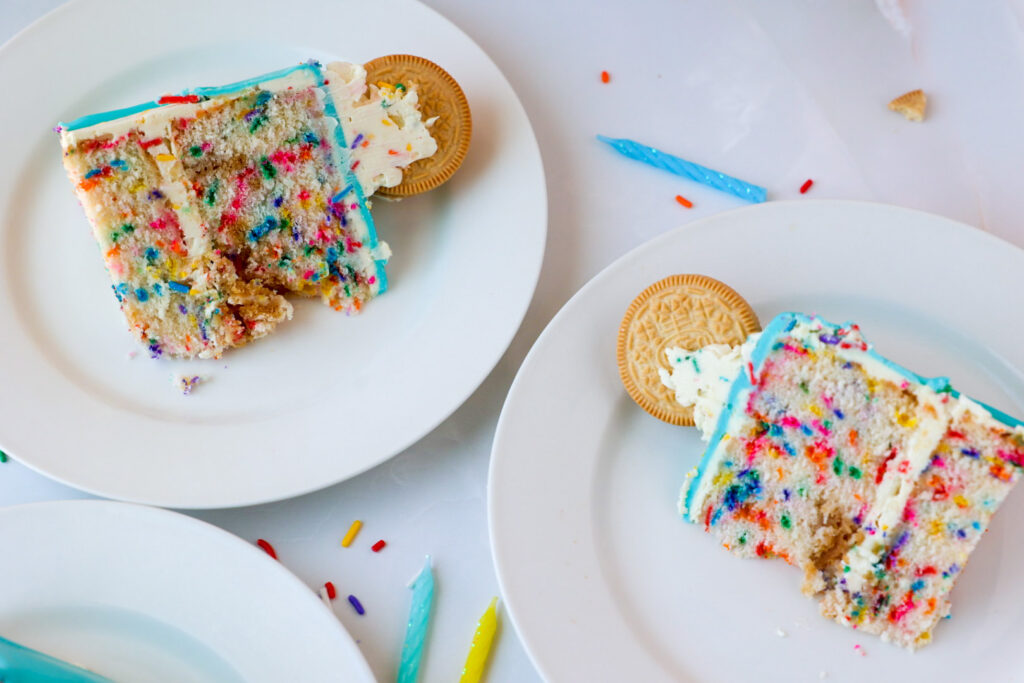
When the temperature is right, get your cold cake out of the fridge and pour it over the top. With an offset spatula, slowly move it around the top of the cake. Try to make it in 1 or 2 smooth movements by placing the offset spatula on top and moving your turntable. Do not spread more over the chocolate that has gone down the cake because it will make a double drip on top and start to look messy. Once it’s done, quickly put your cake back into the fridge.
If for some reason it did not go well, it probably will but if it didn’t, it’s ok. It is just cake after all and we can fix this. While it’s still warm use your bench scraper to carefully go around and remove it. Get your cake cold again, give it a light beauty coat of buttercream and then try it again!
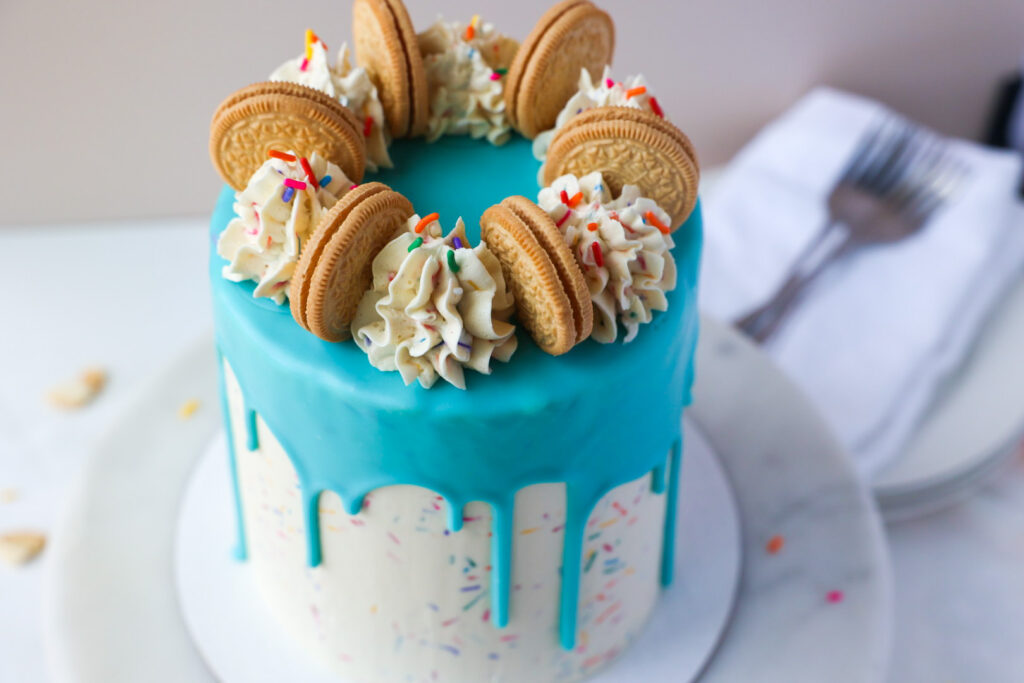
Once the drip is set you can decorate the top how you please! I used oreos and Ateco tip 849.
Golden Oreo Confetti Birthday Cake
Equipment
- mixer with whisk and paddle
- kitchen scale
- 3 6 in cake pans
- oven thermometer
- bowls
- spatulas
- cake turntable
- offset spatula
- cake scraper or bench scraper
Ingredients
Cake Layers
- 325 g all purpose flour
- 1 tsp salt
- 2.5 tsp baking powder
- 475 g sugar
- 3/4 cup unsalted butter, softened
- 150 g egg whites, room temp
- 300 g buttermilk, room temp
- 1 TBS imitation vanilla (clear)
- 1 cup rainbow sprinkles
- 12 oreos, plus more for decorating
Birthday Cake Buttercream
- 6 oz egg whites, pasteurized in a carton
- 24 oz confectioners sugar
- 18 oz butter, softened
- 1 tsp salt
- 1 TBS cake batter extract
- 1/2 cup rainbow sprinkles
- touch of purple coloring optional
Drip
- 100 g candy melts
- 33 g heavy cream
Instructions
For the cake layers
- Preheat the oven to 330 degrees.
- In a bowl combine buttermilk, eggs, and extract. Mix to combine and break up the eggs.
- In the bowl of your mixer combine the flour, sugar, baking powder, and salt. Combine the mixture with the paddle attachment in your mixer to distribute the ingredients.
- Add the softened butter and allow that to mix making a coarse sand like texture, about 1 minute.
- With your mixer on low, add around half of your wet ingredients. You really just want to add enough liquid so that everything is a little wet without forming a dough texture, it should resemble cake batter. Then turn it to medium and let it mix for 2 minutes. Set a timer and do not go over. This helps develop the structure of the cake, without over mixing.
- Scrape your bowl after the 2 minutes. With your mixer on low add the rest of the wet ingredents. Mix just until totally combined, about 15 seconds. Scrape the bowl again if needed.
- Fold your sprinkles in with a spatula until evenly distributed.
- Prepare the pans by spraying with baking spray and lining the bottom with parchment paper.
- Divide the batter evenly between 3, 6 inch pans. I used 18 oz per 6 in pan.
- Cut up 4 oreos for each each layer. Sprinkle them over the tip and push them down with a utensil to evenly distribute. Cover the cakes with aluminum foil and bake for 60-70 minutes or until done. They are done once they start to pull away from the sides of the pan or a toothpick inserted in the center comes out clean.
- Allow the cakes to cool on a cooling rack until the pan is cool enough to touch. Remove the cakes from the pans and let them cool completely before wrapping in plastic wrap to freeze or to decorate.
For the Birthday Cake Buttercream
- Weigh out your egg whites in the bowl of your mixer.
- Sift your confectioners sugar into the bowl.
- Make sure your mixer has the whisk attachment on. Begin mixing it on low, slowly increasing it to high and let it go for about 6 minutes.
- Change out your whisk attachment for the paddle.
- Turn the mixer on low and add your butter in 1 stick at a time.
- Add your salt and flavoring and let the mixer go on low for about 10 minutes.
- Cake batter extract is usually bright yellow and may change the color of your buttercream. To neutralize the yellow and bring it closer to white, you can add 1 small drop of purple gel food coloring.
- Mix your sprinkles in with a spatula if you prefer to have them in every layer. Or you can mix them in for your final coat of buttercream.
To Assemble
- On a cake board, put a small dollop of buttercream and put the cake top side down on the board.
- Smooth buttercream on the top.
- Add another cake layer and repeat.
- Add the last cake layer, seal the sides and coat the whole cake in a thin layer of buttercream to lock in any crumbs. Refrigerate that for about 15 minutes before your final coat of buttercream.
- Gently fold sprinkles into the remainder of the buttercream if you have not done so already.
- Add your final layer of buttercream, smooth and decorate it as you wish. I chose a drip and piping on tip with more oreos between.
To make a drip
- Put the candy melts and cream in a bowl.
- Microwave together for 30 seconds and let them sit for 2 minutes.
- Slowly and gently stir with a small spatula trying not to incorporate any air. If it needs to be microwaved again only do spurts of 10 seconds.
- The drip needs to be cool enough that it won't melt your buttercream, but warm enough to be able to run down the cake.
- When the drip is ready to pour, pull your cake out of the fridge, pour it in the center, and slowly spread it over the sides. Quickly put it in the fridge to set.
- Once the drip is set, map out where you want to put swirls and pipe with a 1M tip. Place an Oreo next to each swirl before piping the next swirl.

My son 5y-o loves rainbows. I made this cake to celebrate his pre-school graduation. OMG! He loved the surprise. Thanks a lot for sharing all of this lovely work. :=)
oh how sweet!! My kids loved that this one was rainbow too!
Thanks so much for trying it!
Hello, may I ask please why cover the cake with aluminium foil?
Hi Nancy, I do this to help the cake bake evenly, it helps distribute the heat so the edges don’t bake super fast while the inside doesn’t. Baking it more evenly keeps the whole cake more moist (instead of having dry edges) and helps keep it from doming.
Thanks so much for the recipe, I can’t wait to try it! Any reason for using imitation vanilla vs the real thing? Also, any idea if these would work well as cupcakes? Thinking of making them for my sons 2nd birthday but cupcakes will be easier for the kids! Thanks again!!
I used it because it has a distinctively different taste. It is also the flavor that is in Oreo cream, which I used in the cake. It just feels classic birthday cake to me. Yes you can make cupcakes. Bake at 350 and adjust baking time.
Hi there 🌷 I want to make this cake for my daughter but how many days from advance can I make the cake. Thank you
Hi Karen, Im sorry I missed this. I prefer to at least make my cake a few days before I need it. Wrap it and freeze it. Then I decorate the day before the party.
Can’t wait to try this recipe! How would you adjust this recipe if using a larger round cake pan? I have 9 inch pans. Thanks!
Hi Kelly, Im excited for you to try it. At least double, maybe even a little more.