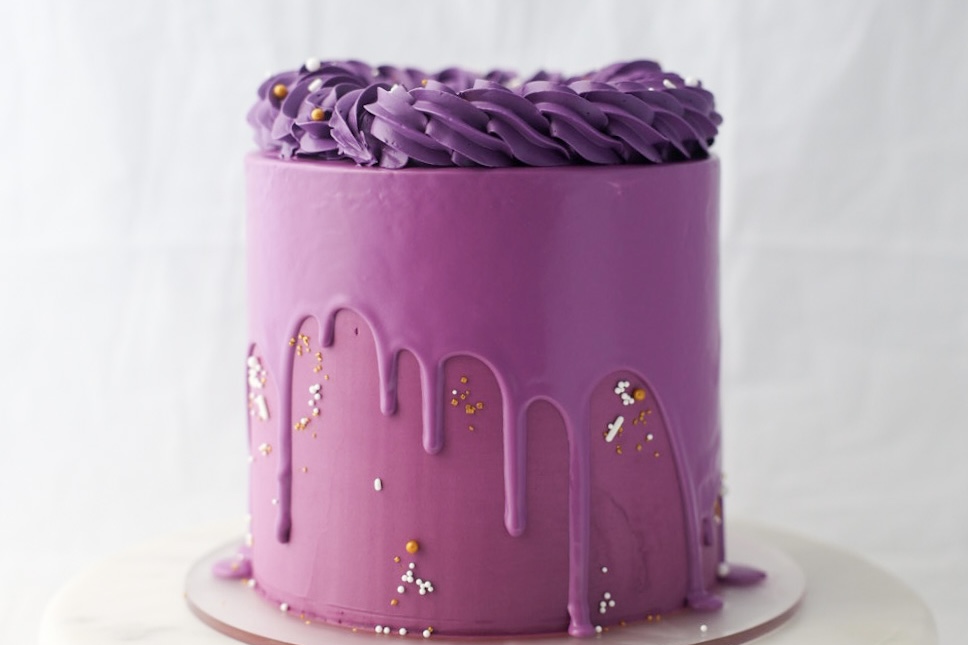
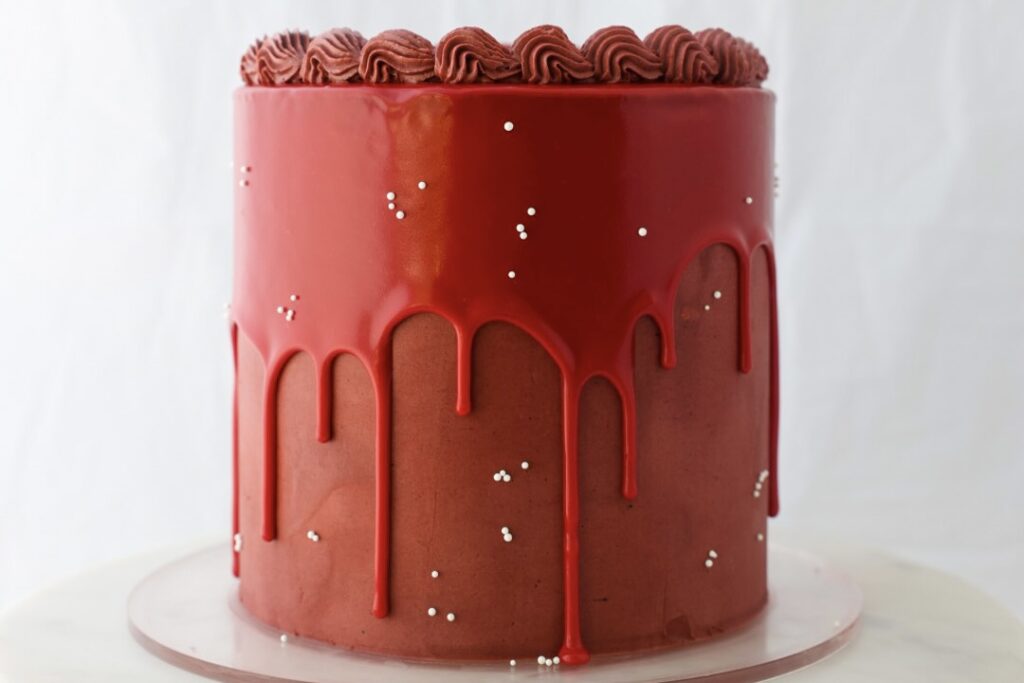
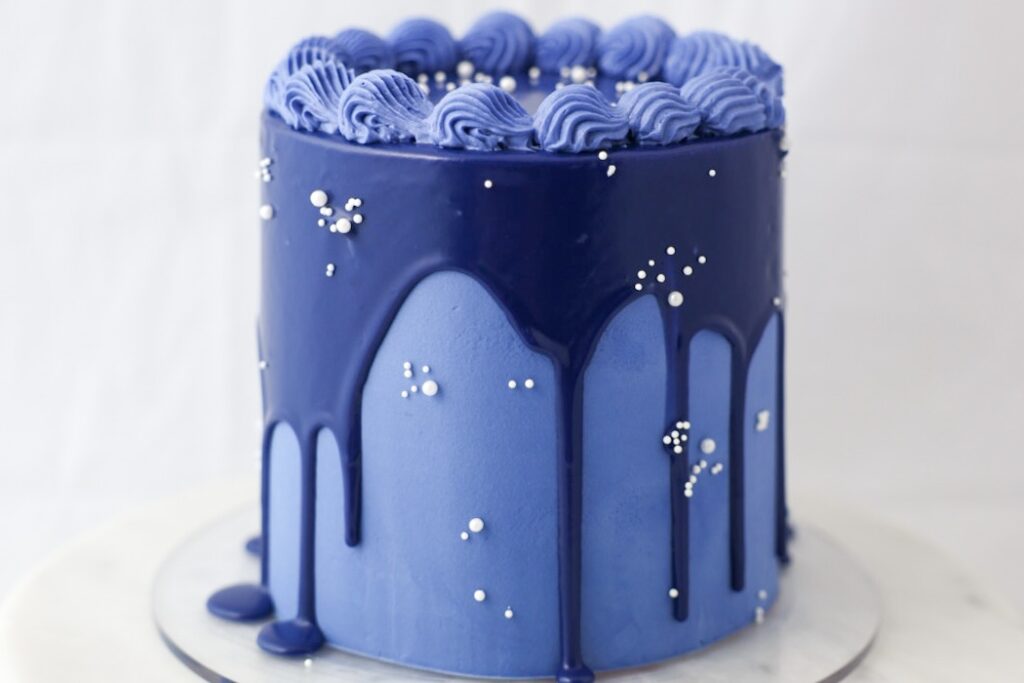
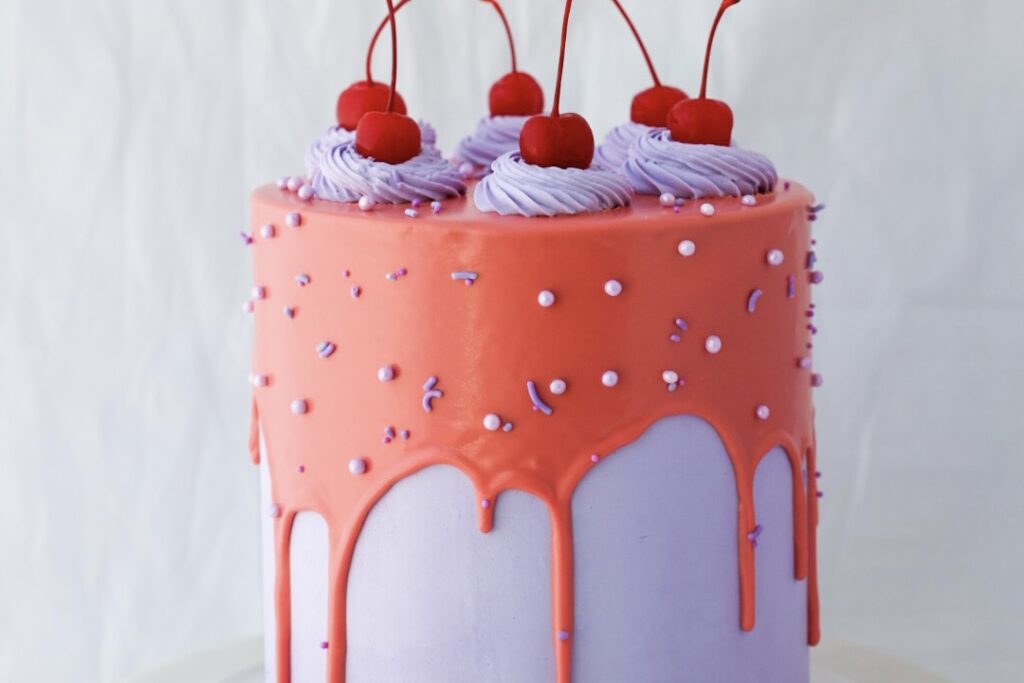
Swooning over curtain drips? Here is how to make a curtain drip for cakes, a guide to help you achieve them along with my recipe.
If you need a cake recipe, my basic layer cake recipe is perfect to practice with. Each of these cakes has my Faux Swiss Meringue buttercream under the drip.
Tools you’ll need
To make these curtain drips you need a kitchen scale. You can not do this properly without one. They’re really inexpensive and can be ordered online or found in most stores that sell baking supplies. I got mine on amazon years ago. You need a heat safe bowl, a small rubber or silicone spatula or something to stir with, and an offset spatula. You will also want a toothpick or a scribe to pop any air bubbles. A cake turntable or lazy suzan would be very beneficial to have as well.
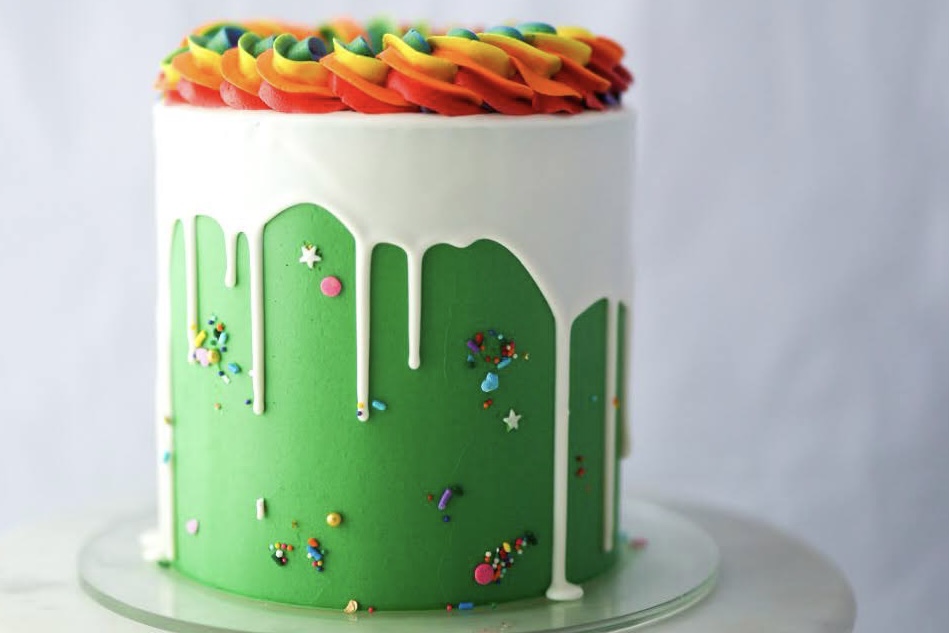
Weigh out all the ingredients
Weigh out your ingredients, do not skip this step. Make it exact. When you start changing the ratios, the consistency really changes and you can run into issues.
Melting it
Add the candy melts to a heat safe bowl along with the cream. I have the best results when I heat them together at the same time. To melt them, use a microwave, start by microwaving it 30 seconds. Let the mixture sit for a minute to continue heating the chocolate. Stir for longer than you think before heating it again. If you need to heat it again, and I usually do, only heat it in 10 second spurts. You want to avoid splitting the chocolate. In my experience when this has happened, if you wait for a while, it usually will come back together once it cools.
Stirring
When you stir it, do not stir vigorously. Stir slowly. You want to try to avoid creating air bubbles in the mixture. Some are inevitable, but the faster you stir the more air bubbles will be created and your drip won’t be as smooth as it could be. Using a small silicone spatula works well to scrape the sides of the bowl. Tap the bowl on the counter frequently so the air bubbles will rise to the surface to be popped.
Temperature
First, the cake needs to be cold and the buttercream set before you attempt to pour the ganache.
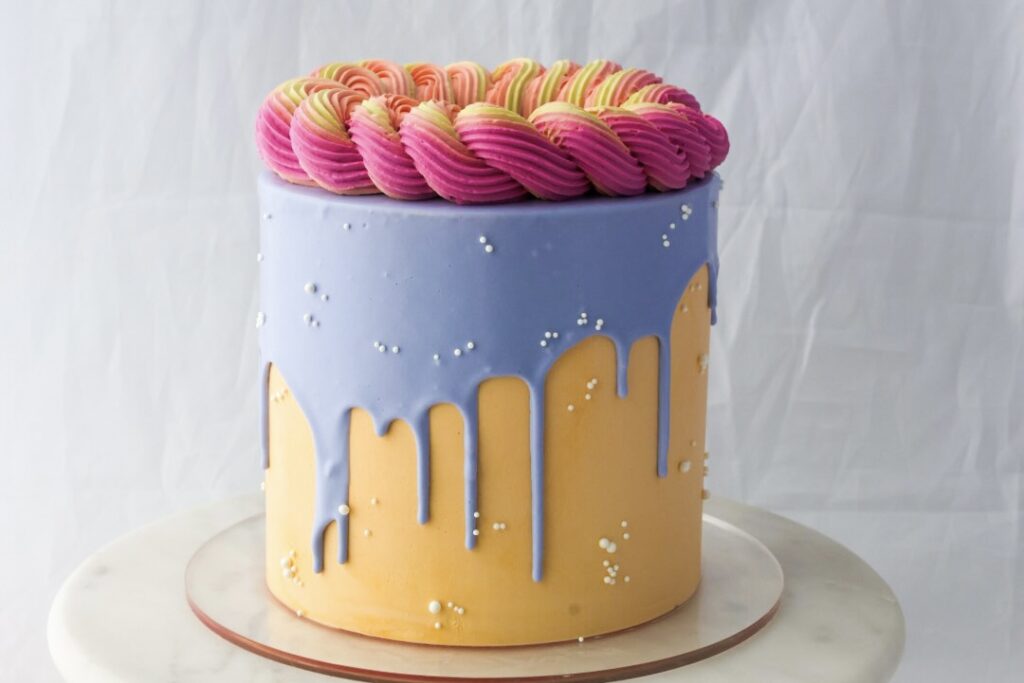
The temperature of the mixture is super important. Too hot and it will run right down the cake and take the buttercream with it. Too cold, it won’t run down the sides and can lump up creating a lumpy drip on top of your drip. It needs to be just right so that if you overlap the ganache it can melt back into the other ganache without being too hot.
For the longest time I just got a feel for the temperature by checking it with my finger. Would this burn a baby and melt buttercream? Is it still runny and does it melt back into itself? I recently bought an infrared thermometer so I could nail down a temperature for you. The temperature I got right before my last pour was around 115 degrees F.
Pour
Right before pouring tap the bowl on the counter multiple times to work out the air bubbles. If they don’t pop on their own, pop any visible bubbles in the bowl with your scribe or toothpick.
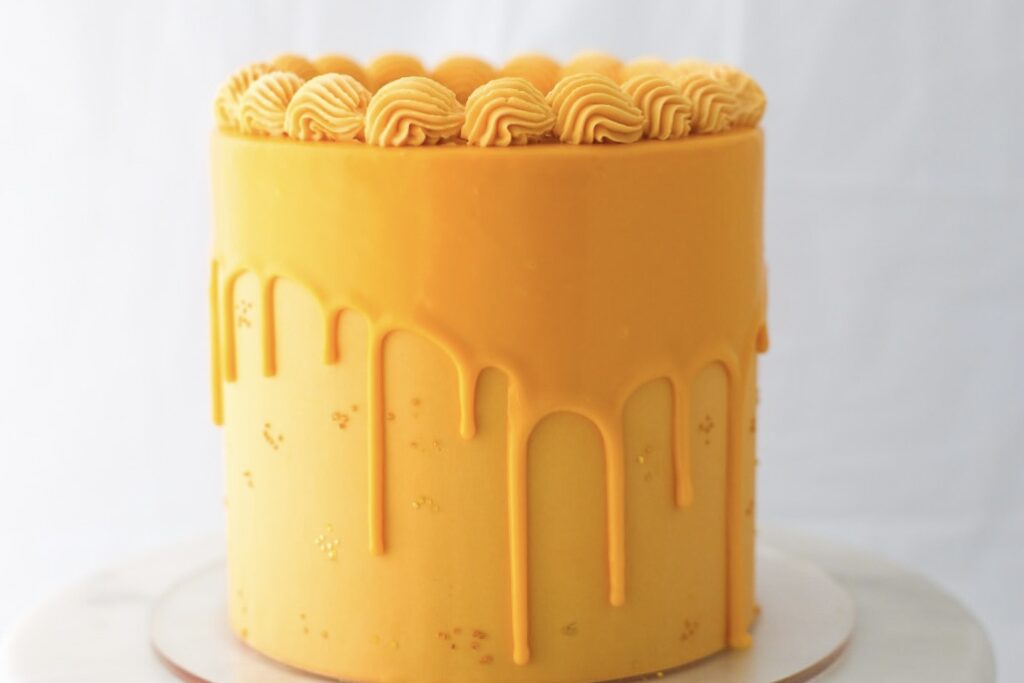
Gently stir the ganache to check for smoothness, once the temperature is right and it looks smooth, pour the ganache on the top center of the cake. I prefer to pour enough to get it close to the edge of the cake on it’s own. The amount you pour should depend on how far you want the curtain to run down your cake.
Spreading it
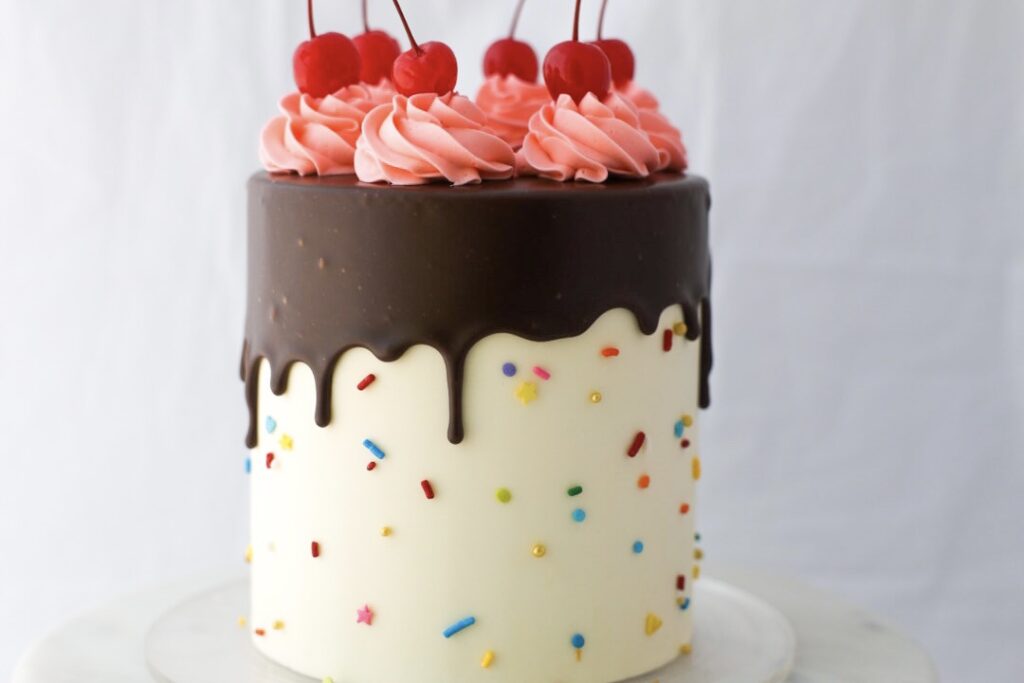
Using an offset spatula, gently and slowly push a small amount over the edge of the cake in a fluid motion while turning the cake on a turn table. Try not to overlap the ganache because if it’s too cool it won’t melt back into itself and can make ugly lumps. Once it’s all spread, quickly grab your scribe or toothpick and pop any air bubbles before it cools. Once the air bubbles are popped, quickly put it in the fridge to set. If the cake was properly cold to start out with, the ganache should set quickly in the fridge.
Fixing it
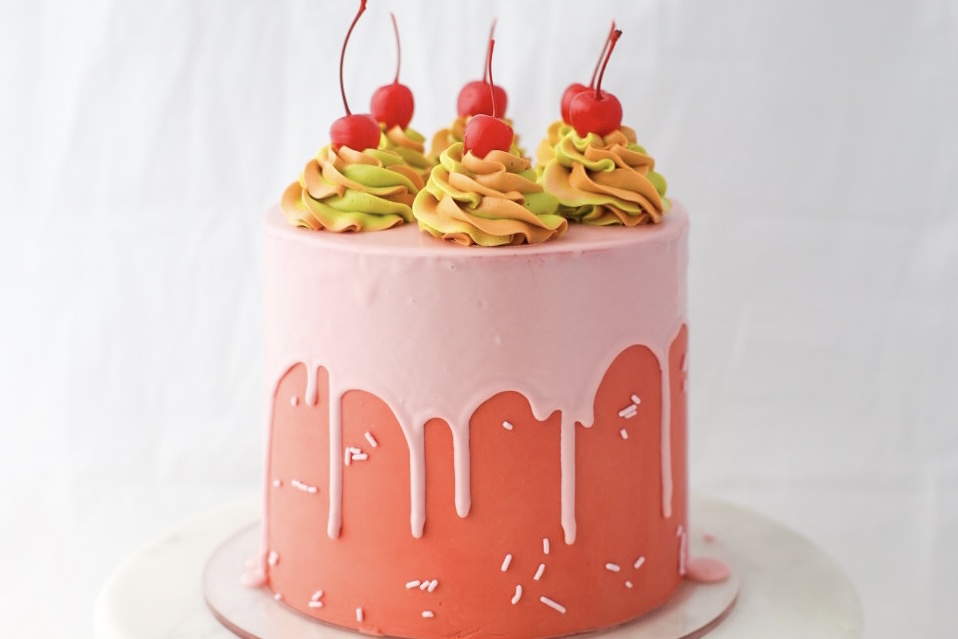
If for some reason it doesn’t go well, it’s ok. It is just cake. It happened to me more than a few times when I was troubleshooting this technique. You can fix it. While the cake is still warm, take your bench scraper and carefully remove it starting with the side/drip portion. Try to remove as little buttercream as you can but get all the ganache. Once the sides are cleaned off use your bench scraper to remove the top ganache trying to keep the top smooth.
Once it’s all removed, put the cake back in the fridge to make sure your buttercream is firm. Once you’re sure your buttercream is set put another “beauty coat” of buttercream on the outside of the cake, smooth it, and you can start over once that buttercream is set in the fridge.
Coloring
Because I use Wilton Candy melts for this recipe, I usually just buy the color I want to use. Sometimes I will mix a few of the colors to create my own. The color can safely be adjusted using oil based colors. I’ve used the few Colour Mill colors that I have to adjust shades in the past. Technically, once you have added cream to the chocolate, it is ganache at that point and should be safe to add gel color. I did this once and it split. That day I was having other problems and I can’t for sure say it was the gel color, but I haven’t tried again. I have successfully used gel color in water ganache, but I do not like water ganache for this technique.
Questions
Q- Does it continue to run once at room temp? A- No, it sets and will not run after you let it set it in the fridge unless you melt it.
Q- What is the correct consistency? The consistency should be smooth and melty. It should melt back into itself but really the temperature is most important. Consistency should be the same each time because ratios are important.
Q- What temp do you have the cake before adding it? A- I haven’t temped my cake, but I will say I let it get as cold as it can. You’ll be adding something warm to buttercream, which melts easily. I like to decorate my cakes from frozen, so everything gets and stays cold pretty quickly. The buttercream should be cold and firm.
Q- Can you make dairy free drips? Yes, find a dairy free chocolate and make a water ganache. I’ve had good success with 6 oz chocolate to 1 oz water. Personally, I do not like water ganache for a curtain drip, the look isn’t the same. Alternatively, I’ve added butter spread to dairy free milk to make it like cream when I had no heavy cream on hand. It actually worked fabulously.
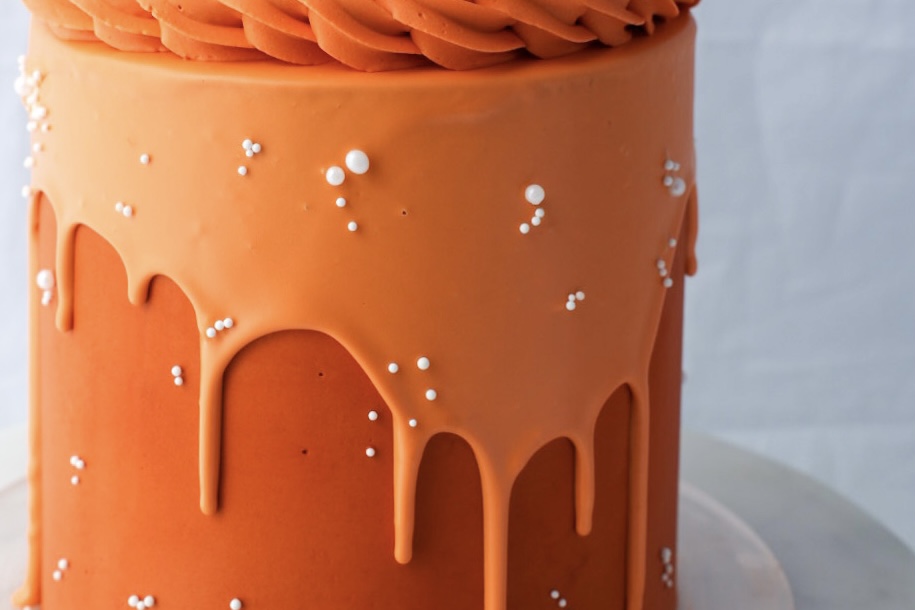
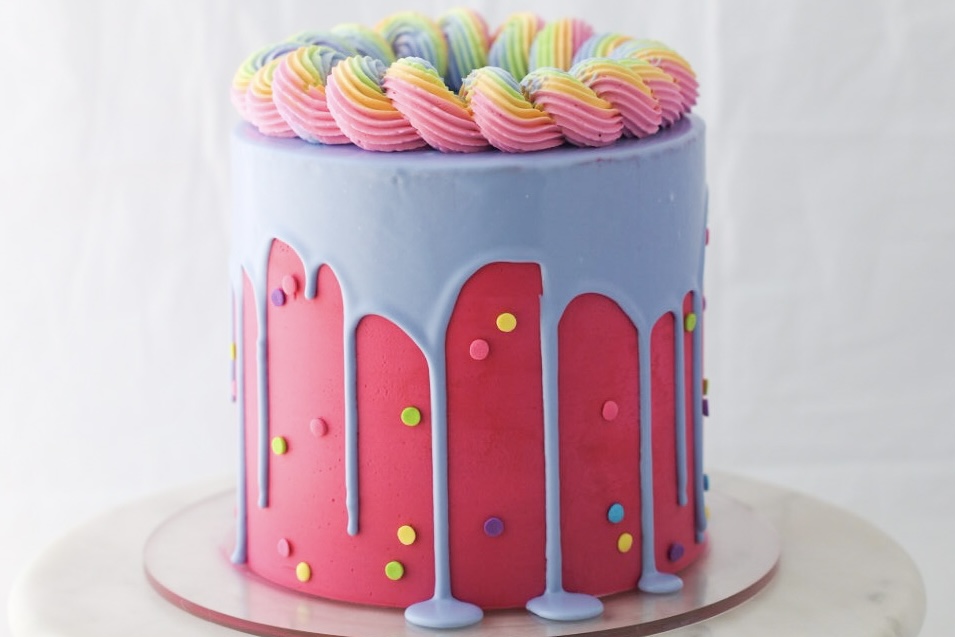
Q- How is curtain drip different to others? A- Curtain drip is where a large amount of chocolate also goes over the cake, and not solely the drip.
Q- Using bottle vs spatula? A- I like to use the bottle method only if I’m making a drip cake that has just the drip portion go over the side, not the full curtain drip. I’ve tested this and it makes ugly ripples in the chocolate on top once you go back and fill in the top, which is why using a spatula on top is best for this method.
Q- What ingredients to look for in chocolate? A- To be honest I’m still a little confused by this because Ive been told conflicting things on what’s better to use.. Chocolates with cocoa butter vs oils.. My recipe specifically uses Wilton Candy melts, not chocolate. Though, chocolate should work similarly, I don’t use it and can’t confirm how it comes out.
Q- What size cake is your recipe for? A- This recipe is the amounts I use for my standard 6 in cakes. Typically I make 6 inch wide, 2 inch tall cake layers, and I stack 3 of them. If I were going to make an 8 inch cake I would likely use around 150-200 g candy melts instead and adjust the cream to that.
Q- Do you use the entire mixture? A- Just about. There’s usually a tiny amount left in the bowl. The amount I use usually depends on how deep I want the curtain to go. If you want it to travel farther down the cake you want more. I like a deep curtain and use almost all of it depending on how it’s spreading on the top, I like it to go almost to the edge before I start spreading it over.
Q- Is it hard, does it crack? A- No, Ganache isn’t hard. It sets but shouldn’t be hard or crack.
Curtain Drip for 6 inch cake
Equipment
- microwave
Ingredients
- 100 g Wilton candy melts*
- 33 g heavy cream
Instructions
To make the drip
- Put the candy melts and cream in a bowl.
- Microwave together for 30 seconds and let them sit for 1-2 minutes.
- Slowly and gently stir with a small spatula trying not to incorporate any air. If it needs to be microwaved again only do spurts of 10 seconds. You need to be certain it's smooth and totally melted.
Pouring the drip
- The drip needs to be cool enough that it won't melt your buttercream, but warm enough to be able to run down the cake. Ive poured mine at 115 degrees. The cake needs to be very cold from the fridge.
- Tap the bowl on the counter to make any air pockets rise. Pop them with a scribe or toothpick if needed.
- When the drip is ready to pour, pull your cake out of the fridge, pour it in the center, and slowly spread it over the sides with an offset spatula. Pop any air bubbles with a scribe or toothpick before it sets. Quickly put it in the fridge to set.
Notes
- I use a 3:1 ratio if you want larger or smaller amounts


Thank you so much for making this post. I tried your curtain drip on my cake for the first time the other day and I had success on the first go!! Your cakes are awesome, now I just need to get as good as you on the decorating part! 😉
oh im so glad!!!! That’s very exciting. Thank you so much, I still get better with each cake.
Hey. I made just a few cakes in my life but i start to learn to make a beautiful and yummy cakes 🙂 i want to do it, but I don’t have a microwave. You think i could give it a try and put it in a bowl above boiling water for a while, than stir it? I don’t know how to say it in English, cause I’m from Poland, so i’m sorry:) in polish it is kąpiel wodna 😁
You absolutely can melt it over a double broiler, you just need to make sure it’s melted nicely. No microwave necessary.
thank you! i tried it almost immidiately after i wrote my first comment and it worked out S O W E L L. I bought wilton candy melts and used your recipe, and did it three times since then- it looks amazing everytime and worked with callebaut chocolate as well if someone is wondering. but it looks a bit better and thicker with wilton.
I made this a little bit thicker (less cream) to make it look like a donut glaze on a cake. Worked perfectly! Thanks for the awesome recipes and instructions!
what a great idea, sounds super cute!