This Easy Valentines cake is simple to make. It bakes as one layer and can be decorated simply by yourself or can be fun to let you kids help.
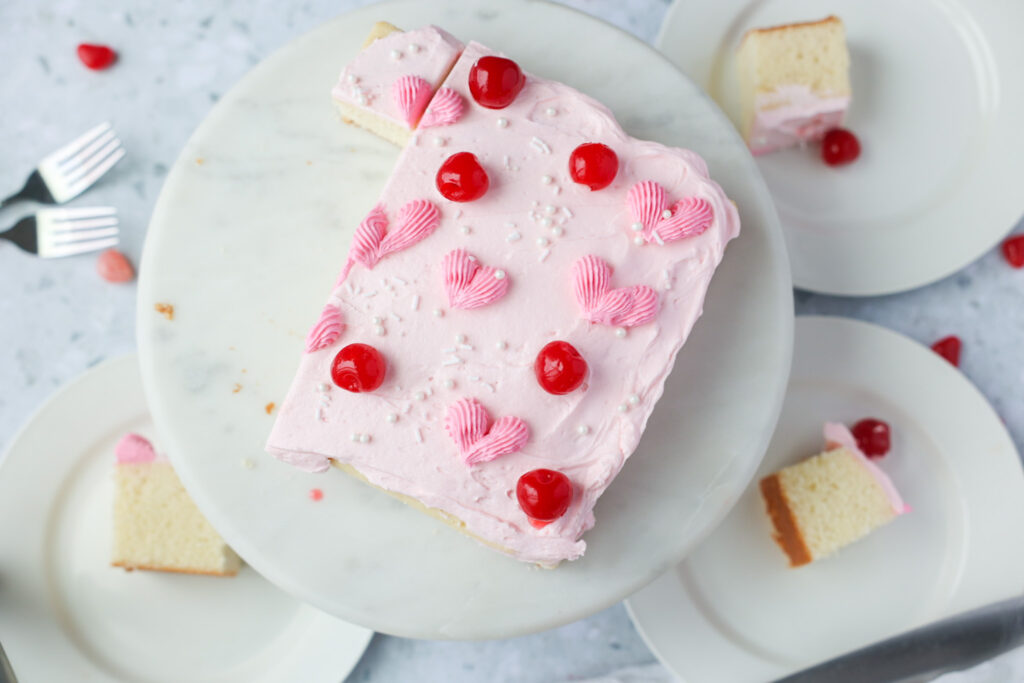
About this easy cake
The idea behind this cake is for it to be simple and fun for bakers and decorators of all levels. You can make this cake for each holiday that rolls around and decorate it a little differently each time. Find cute themed candies, tint your buttercream, and there are always a plethora of holiday themed sprinkles to be found at the grocery store. This cake is not meant to look perfect, but for the enjoyment of making a cake and sharing it.
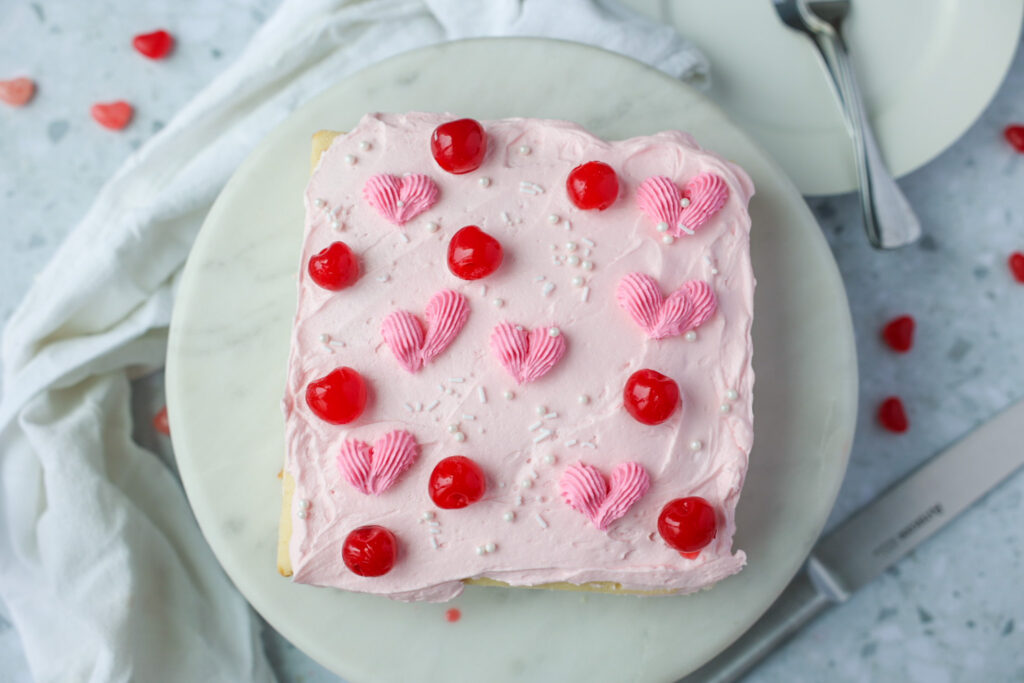
About the Cake Layer
This cake is made using the reverse creaming method and is baked nice and slow. It produces a beautiful and delicate tight crumb. In reverse creaming we coat the dry ingredients with butter then add some of the wet and mix on medium for a couple minutes. This is important because it helps develop the structure of your cake. Don’t be scared to over mix, but also, don’t mix for longer than directed! There are simple to follow instructions below.
If you prefer, this cake can also be made with the traditional creaming method where you cream your butter and sugar together then alternate adding dried and wet ingredients.
It’s baked in a 9×9 square pan lined with parchment, but can be baked in any shape that is a similar size. If you don’t have a 9×9 pan you likely have an 8 inch round cake pan. You can make the cake batter amount in my cookie dough ice cream cake and follow the cake directions there. It will be less cake, but it’s all just for fun right?
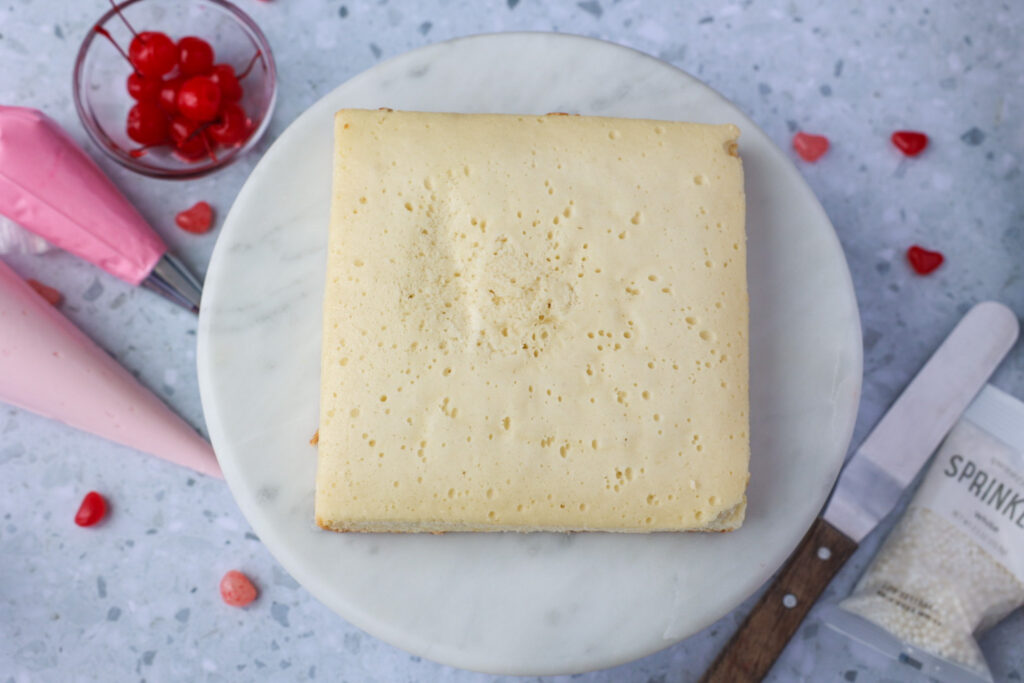
Tools to Make the Cake
You’ll need a mixer with paddle attachment, a 9×9 cake pan, cooking spray or parchment for your pan, baking foil, a scale or simple kitchen measuring devices. Some piping bags are fun to use but not necessary, as well as a French tip (lots of tiny teeth at the end). You can get these at Walmart or craft stores. Themed sprinkles are always a fun addition. If you’d like to color your buttercream use whatever coloring you have. I love Americolor gels, this is the first kit I purchased and highly recommend it if you’re looking to purchase good colors.
The Buttercream
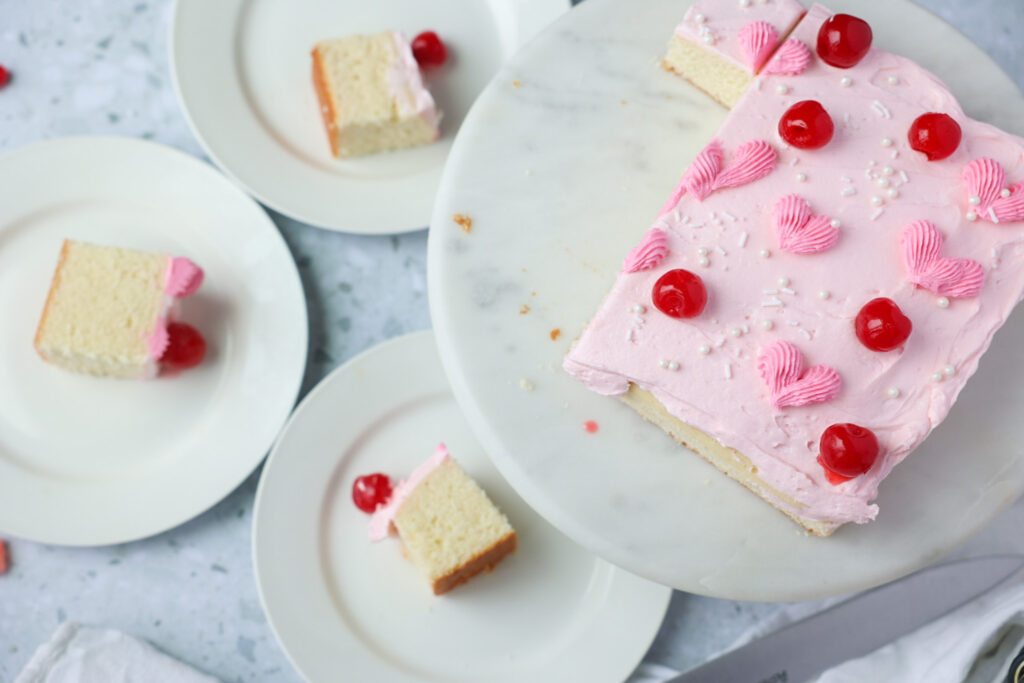
This cake uses my version of American buttercream and is super simple to make. It’s slightly less sweet than the typical American buttercream in my opinion. You whip up your softened butter until it’s very light in color, add in salt, confectioners sugar, flavoring of your choice, and a small amount of cream or milk. Coloring it is not necessary but definitely fun. For this design the whole batch was colored with 1 drop of deep pink americolor gel. Then 1/2 a cup was scooped out and 3 more drops were added to make the brighter color for the hearts.
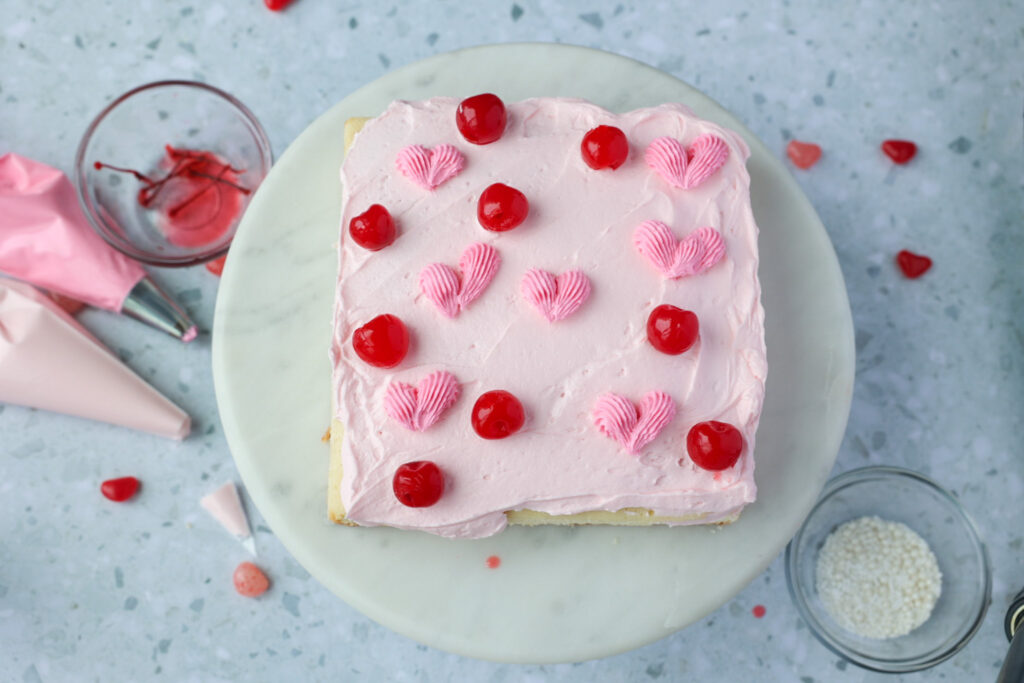
To Assemble the Cake
Trim off any browned edges on the cake. That doesn’t have to be done but the presentation is nicer. Place your cake on what you plan to serve it on, a cake pedestal works well. Evenly spread the buttercream over the top, perfection is not necessary. To make the hearts, with a French tip in your prepared bag of buttercream, slightly roll forward for the top of the heart then pull back and release at the bottom. Then repeat on the other side. Garnish it with maraschino cherries and sprinkles and it’s ready to serve.
Easy Valentines Cake
Ingredients
Cake Layer
- 220 g all purpose flour 1.5 cups
- 5 g salt 3/4 tsp
- 8 g baking powder 1 3/4 tsp
- 320 g granulated sugar 1.5 cups
- 2 oz butter, softened 1/4 cup
- 2 eggs, room temp
- 200 g buttermilk, room temp or slightly warm 1 1/4 cups
- 8 g vanilla extract or flavor of choice 2 tsp
Buttercream
- 6 oz butter, room temp 3/4 cups (1.5 sticks)
- 1 pinch salt 1/8 tsp
- 8 oz confectioners sugar 2 1/4 cups
- 10 g heavy cream or milk 2 tsp
- 4 g Almond extract or flavor of choice 1 tsp
- 4 drops divided pink gel color optional
Garnish
- Maraschino cherries optional
- sprinkles optional
Instructions
To Make the Cake Layer
- Preheat your oven to 330 degrees.
- In a bowl combine buttermilk, vanilla extract, and room temp eggs. Mix to break up the eggs and combine.
- Add flour, salt, baking powder, and sugar to the bowl of your mixer.
- Add the softened butter and mix with your paddle attachment on the lowest setting on your stand mixer until it looks like coarse sand, about 1 minute.
- With your mixer on low, add around half of your wet ingredients. You really just want to add enough liquid so that everything is a little wet without forming a dough texture, it should resemble cake batter. Then turn it to medium and let it mix for 2 minutes. Set a timer and do not go over. This helps develop the structure of the cake, without over mixing.
- Scrape your bowl after the 2 minutes. With your mixer on low add the rest of your wet ingredients. Mix just until totally combined. About 15 seconds.
- Prepare your pan by spraying the sides and lining the bottom with parchment paper.
- Pour all of the batter into the pan and smooth the batter so it’s flat in the pan, then cover with aluminum foil.
- Bake until done about 55 min. When the cake is done the sides will start to slightly pull away from the pan and a toothpick inserted in the center will come out clean.
- Place on cooling rack, carefully remove foil.
- Let the cake cool for about 15 min or until the pan is cool enough to touch and remove it from the pan to cool completely.
For the Buttercream
- Put the softened butter in the bowl of your mixer. Fit the mixer with your paddle attachment.
- Beat the butter on medium for 2-3 minutes until it's smooth and lighter in color.
- With the mixer on low add the flavored extract and salt.
- Turn off the mixer and add the powdered sugar. Slowly let that start incorporating. I prefer to turn the mixer on and off because of the dust cloud it creates. Once it's not making a lot of dust I turn it on to the lowest setting.
- Add the cream and let the mixture run for a few minutes until well combined and smooth. Cover the mixture while not using.
- You can add a drop of pink gel coloring to the whole batch now if you want it colored, then remove 1/2 cup and add an additional 3 drops to that for the heart decorations if desired.
To Assemble
- Trim any brown edges off the cake layer. This just makes presentation nicer.
- Place the cake on what you're going to serve it on, I chose a cake pedestal.
- Evenly spread buttercream on the top of the cake. An offset spatula is best for this. No need to be perfect here.
- To make the buttercream hearts fit a piping bag with a French tip and fill the bag with your buttercream. Slightly roll your tip forward while giving the bag some pressure to create the top of the heart and pull back and release at the bottom of the heart. Repeat on the other side.
- Then you can garnish it with whatever other decorations you like, I recommend maraschino cherries and sprinkles.


Leave a Reply