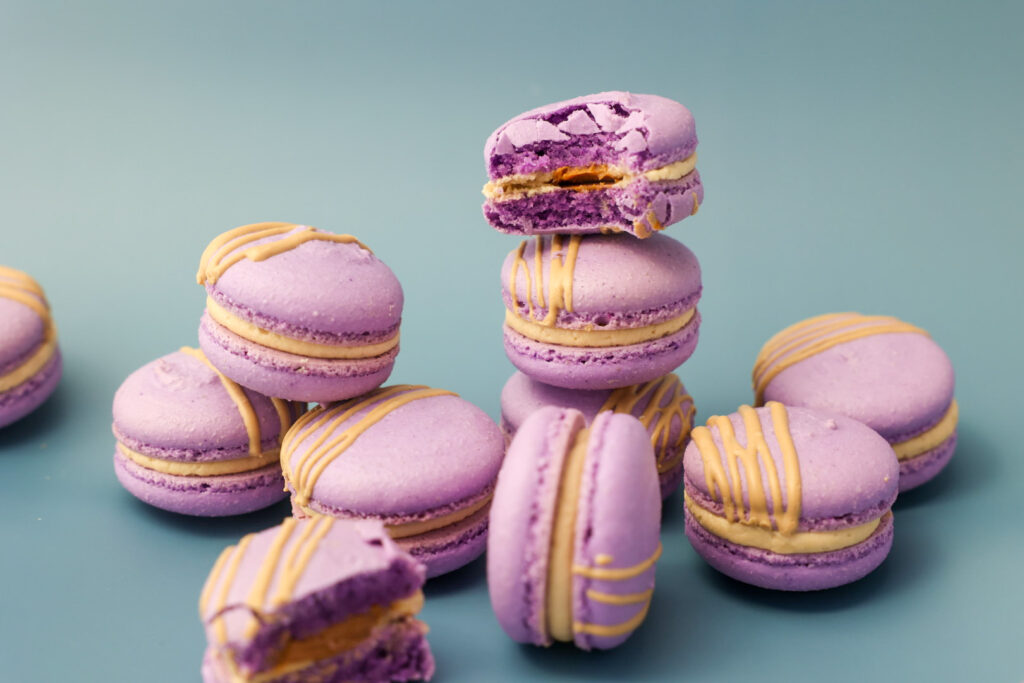
My quest to start making macarons started about 1.5 years ago when I joined the baking community on instagram to share my cakes. I noticed people talking about the prickly macaron and I wanted to try myself. I watched many many YouTube videos before trying. My first macarons were chocolate and had wrinkly tops, shortly after that I made a red batch with bonkers feet that I thought were pretty good (they weren’t). My point is, if you’ve been scared to try, you just have to begin and learn from each batch.
The macron bakers I’ve learned from
Along the way I picked up tips and tricks from macaron makers, some friends, some I just came across on YouTube or instagram and I owe them all so much thanks for helping me to develop as a macaron maker.
Samantha from WebsterWhisks has the first recipe that ever worked for me consistently, no matter what the weather was doing here in Florida! I highly recommend her recipe, especially if you’re struggling to find consistent results. She has a link to her ebook on her instagram page.
Pies and Tacos usually favors the Swiss method, but she does them all. Watch some of her YouTube videos and devour her website and you will learn so much about macarons. She is incredibly knowledgeable about anything macaron related.
If you’ve ever made macarons you know that sometimes it requires some encouragement. So thank you to my friends who looked at countless macaron gut pictures and encouraged me. Megan from The White Whisk, Diana from Find Your Cake Inspiration , and Kala from Almonds and Apricots and everyone who looked at my instagram stories and took the time to encourage me!
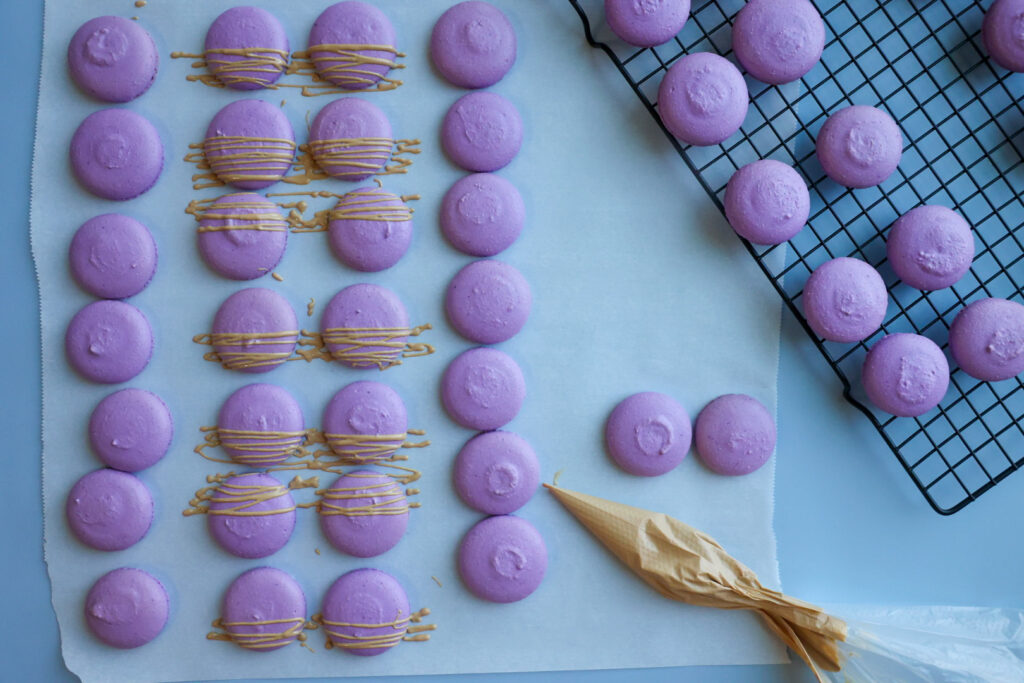
Macarons can come in different shapes and sizes, they’re made by different methods. In my experience of making them I think a no rest recipe is less finicky because there is less moisture in the mixture, and leaves less room for insanely variable results.
Another thing I read when I first started to try making macarons was, do not share your babies with anyone who is going to judge them! I find that to be great advice because they are a labor of love and should be received with love.
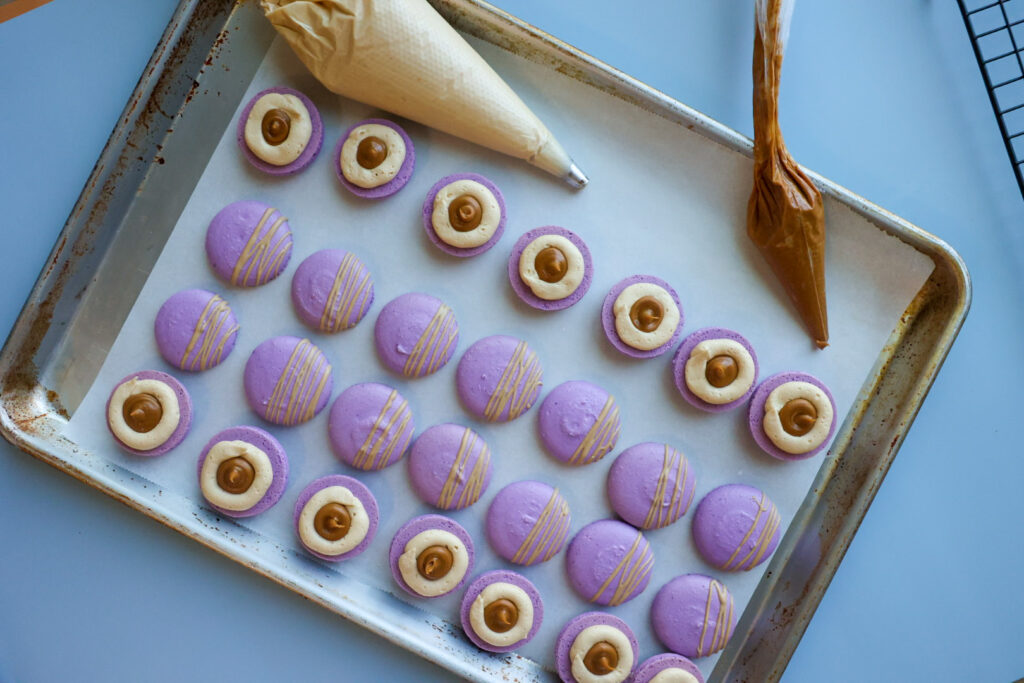
I hope this recipe works for you, or is a good starting point for you to gain confidence to forge ahead to make your perfect macaron. I hope this recipe finds and blesses people who are working a side hustle and are trying to pay their bills. Or anyone who just wants to learn a new skill!
Questions and troubleshooting
I’m happy to try to answer any questions you have (within reason), I am typically easy to reach on my instagram and TikTok pages. If you have no idea how to do the macaronage stage (mixing the dry into the meringue) I suggest watching a few YouTube videos to see how different people do it!
My favorite resource for figuring out what is wrong with my macarons is Pies and Tacos troubleshooting guide. I can not tell you how many times I’ve looked it up. It’s very thorough with pictures. If you have problems, check her guide and make 1 adjustment at a time. A small adjustment can make a huge difference!
It’s best when getting started to get all of your tools out before you start, I learned this from Pies and Tacos even before she moved to my little town and became my best friend, true story. Getting all set up before starting helps decrease overwhelm during the process, don’t ask how I know. 🙂 Set your mixer up, set your baking pans out with mats, get your bag and nozzle ready, pull out your kitchen scale, have your sifter ready, and get all your ingredients. Most importantly, get that oven preheating because it needs to be at a nice stable temp.
Making the Meringue
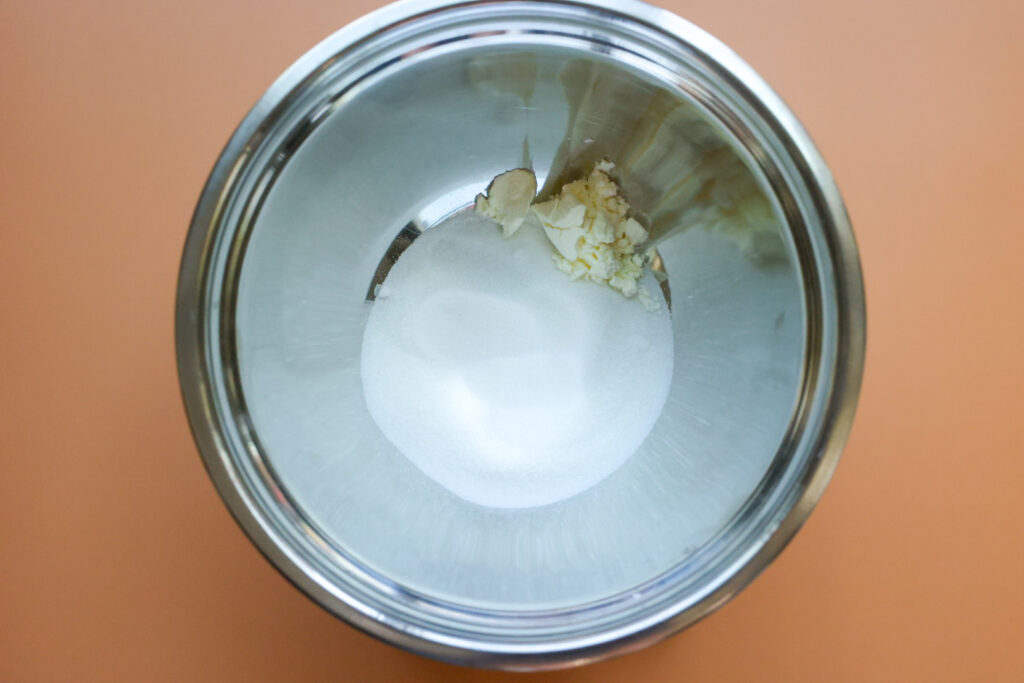
Start by weighing out your granulated sugar and egg white powder (I’ve never seen this in the grocery store, I order it on amazon in the states). You can do this in the bowl you plan to sift your almond flour and confectioners sugar in.
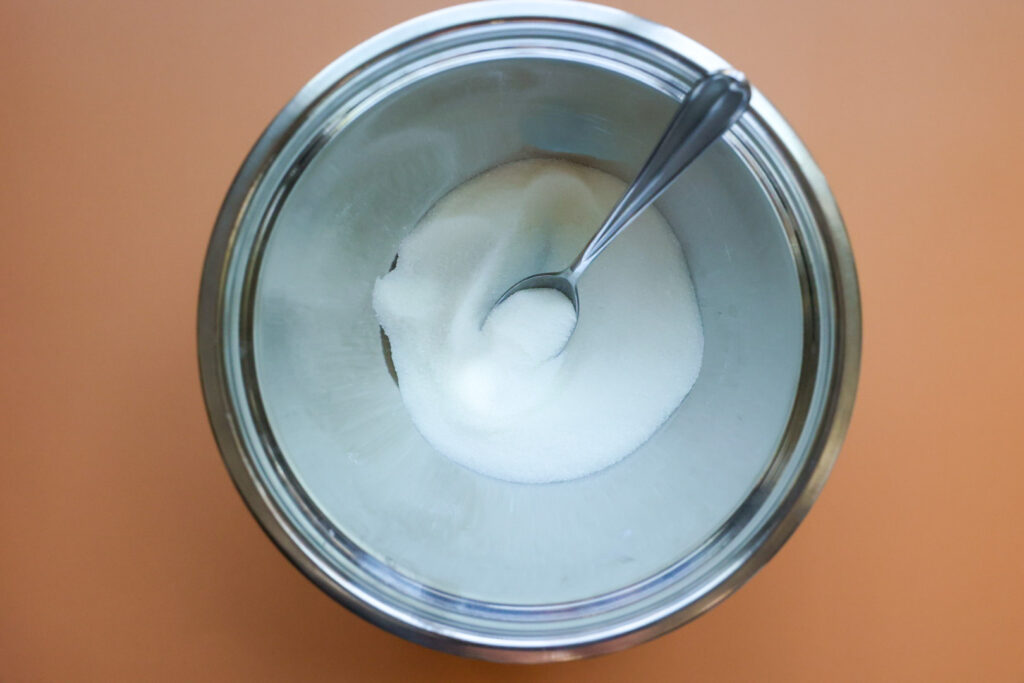
Make sure to mix those together, if you don’t the egg white powder may clump when it gets mixed in the egg whites.
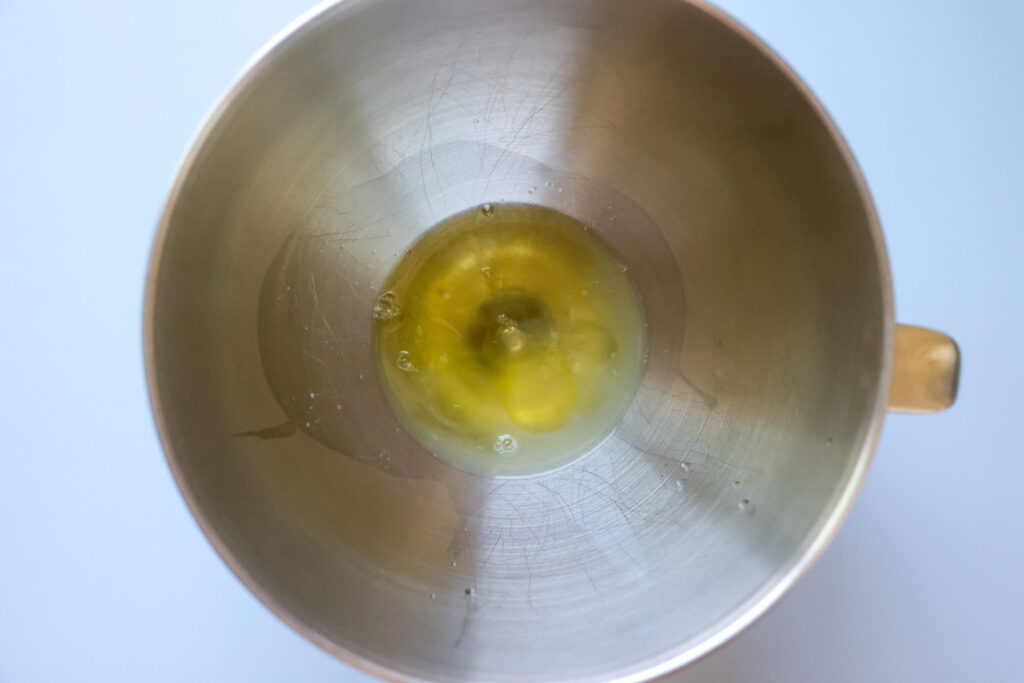
Weigh your egg whites out. I prefer to use an additional bowl for this in the off change an egg breaks and yolk comes along. If there is yolk in your mixture it can ruin your meringue. I break the egg in a separate bowl, if it looks good then I add it to my mixer bowl that is on the kitchen scale. Each egg white is usually around 30 g. We want 120 g. I usually do 3 eggs because a lot of times the eggs each weigh a little more than 30 g, then I use carton egg whites to bring it up to 120 g. If you do this, make sure your egg white carton lists only egg whites in the ingredients list. Liquid egg whites are a thinner consistency and may take longer to whip.
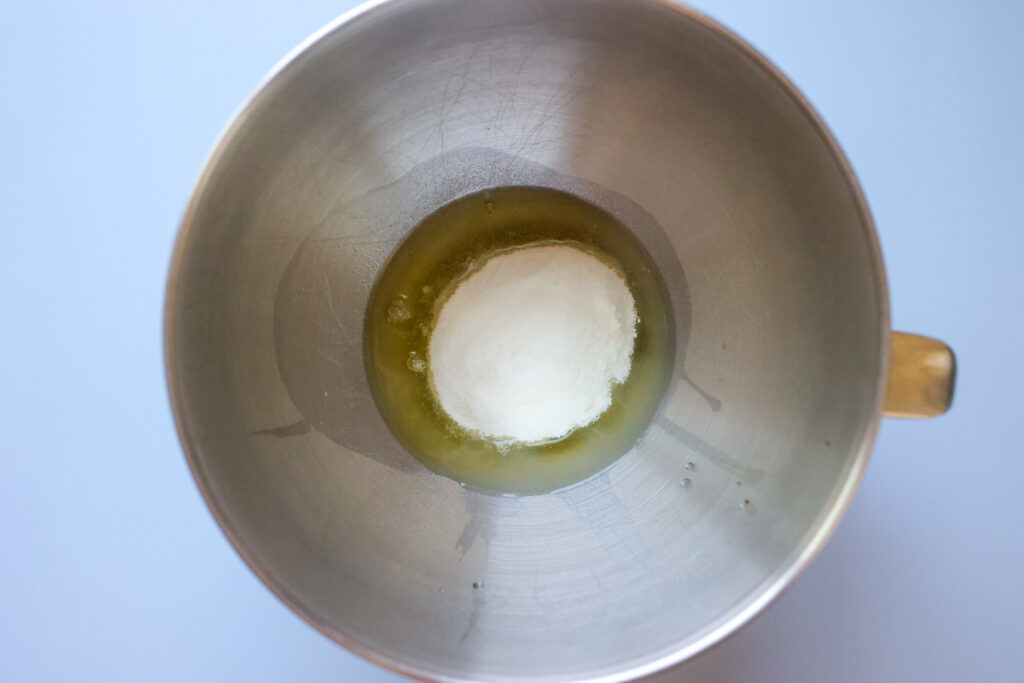
Add the sugar mixture to the egg whites. Start your mixer on the lowest setting and give it about 10 seconds, you’re going to do about 10 seconds at each setting until you hit 6 or medium high and then you will let it go until it’s ready. I timed mine once and it took about 6 minutes but the amount of time it takes can vary for many reasons.
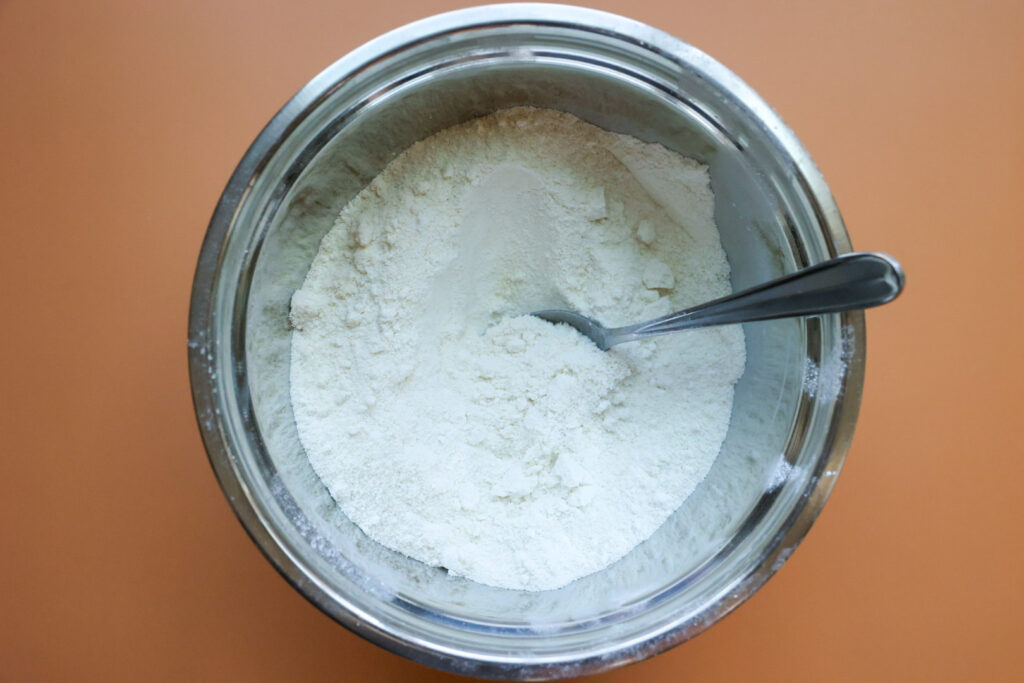
While your meringue is working you can weigh out the almond flour and confectioners sugar to the same bowl. Do not force the almond flour though, discard any that doesn’t make it though. Blue Diamond brand is very fine and I’ve been told Kirkland brand is good as well. Combine the sugar and almond flour.
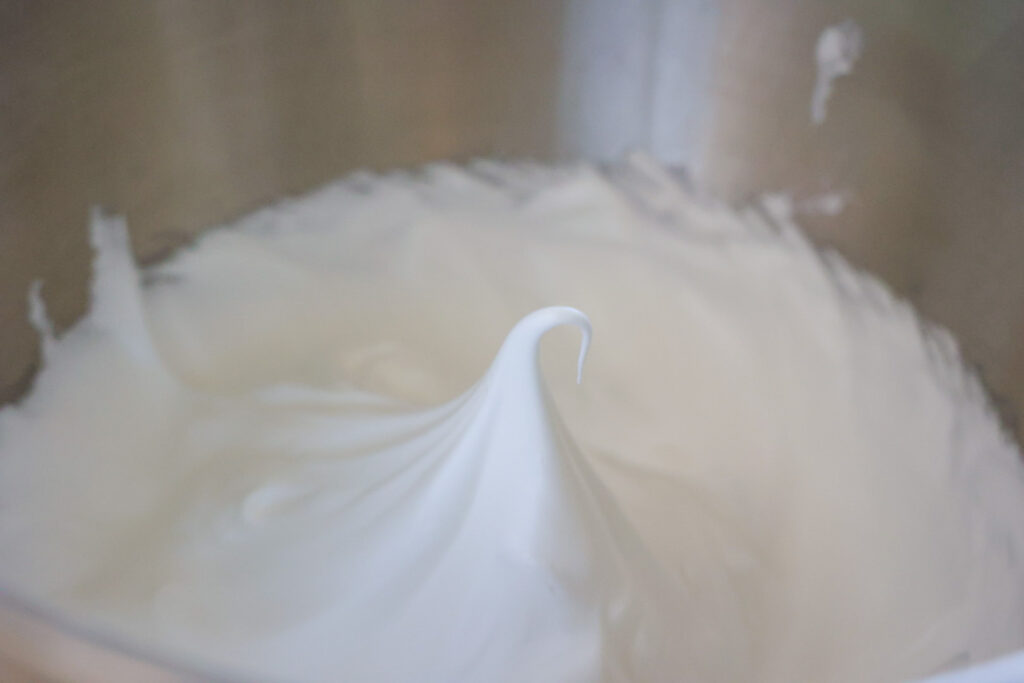
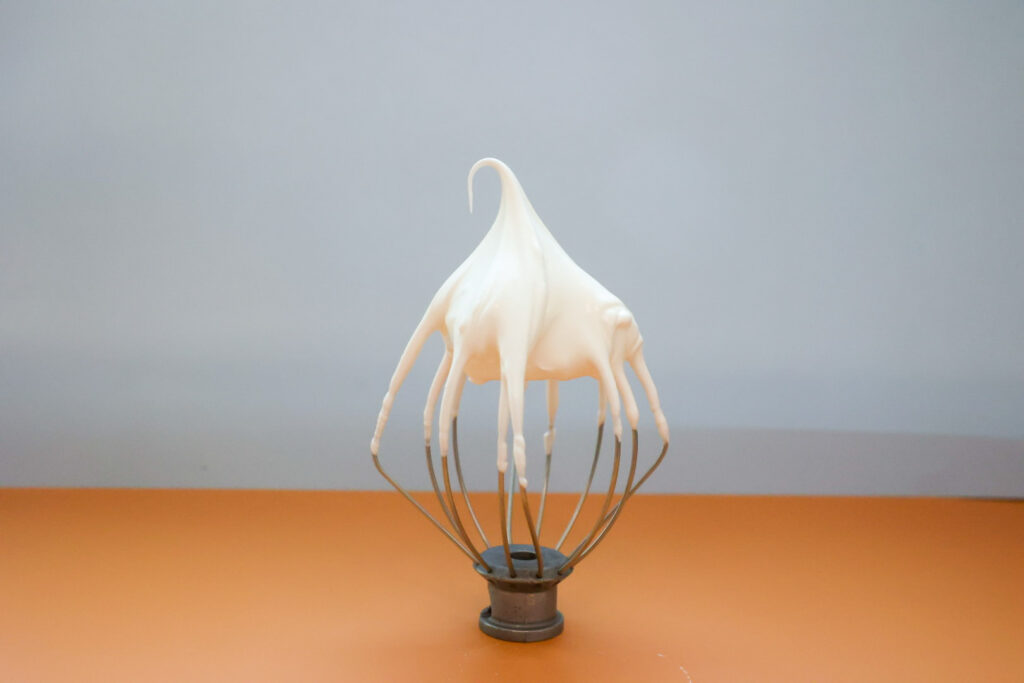
The meringue is ready when it’s at stiff peaks, we do not go past the peaks stage to the shaving cream phase. When you detach your whisk and circle it around in the meringue you will feel some resistance, when you pull it up from that circle it will pull and make a peak, when you flip that whisk straight up, the peak will curl over.
Macaronage
When the meringue is ready, remove the bowl from the mixer and add all of the dry ingredients in. I like to add my color at this stage bc I feel like it turns out more vibrant verses when I add it to my meringue.
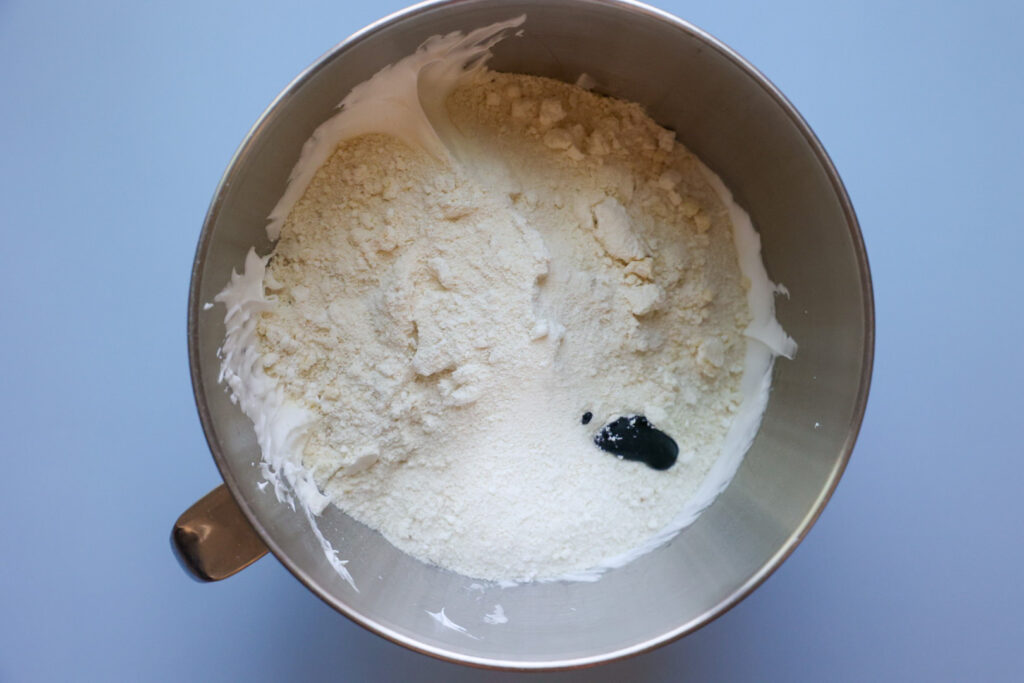
Start moving the dry ingredients around to incorporate it some. Don’t worry about the meringue, it will be fine. Once it’s a little more manageable, I like to start spreading it on the sides of the bowl, then take my spatula to collect it all back to the bottom center by taking the side of the spatula with pressure around the bowl and down, when my spatula is at the bottom center, I scoop upwards to see how well the batter is flowing. I repeat this process until the batter is ready.
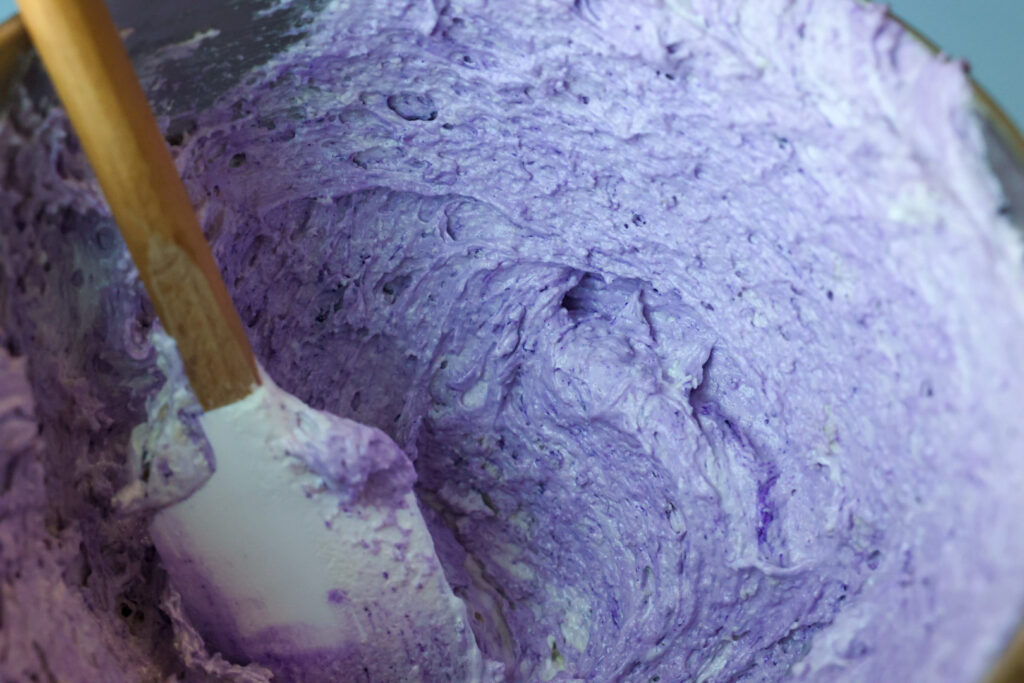
In the beginning stages, when the batter is spread on the side of the bowl, you can run your spatula back and forth over the batter to work out some air. Each time I spread my batter on the side of the bowl, I note the amount of (popped) air pockets that seem to be present.
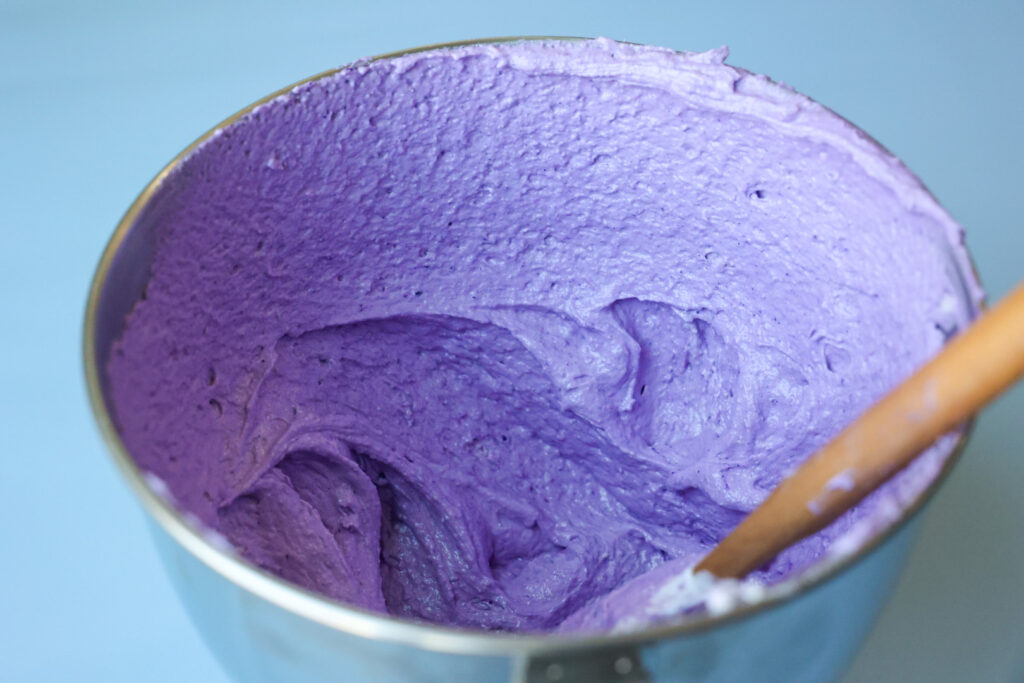
The air pockets will decrease as you go. The batter is ready when the air pockets are reduced to few (some are ok we don’t want it totally deflated) and when the batter is able to flow off the spatula after a circle and scoop mentioned above.
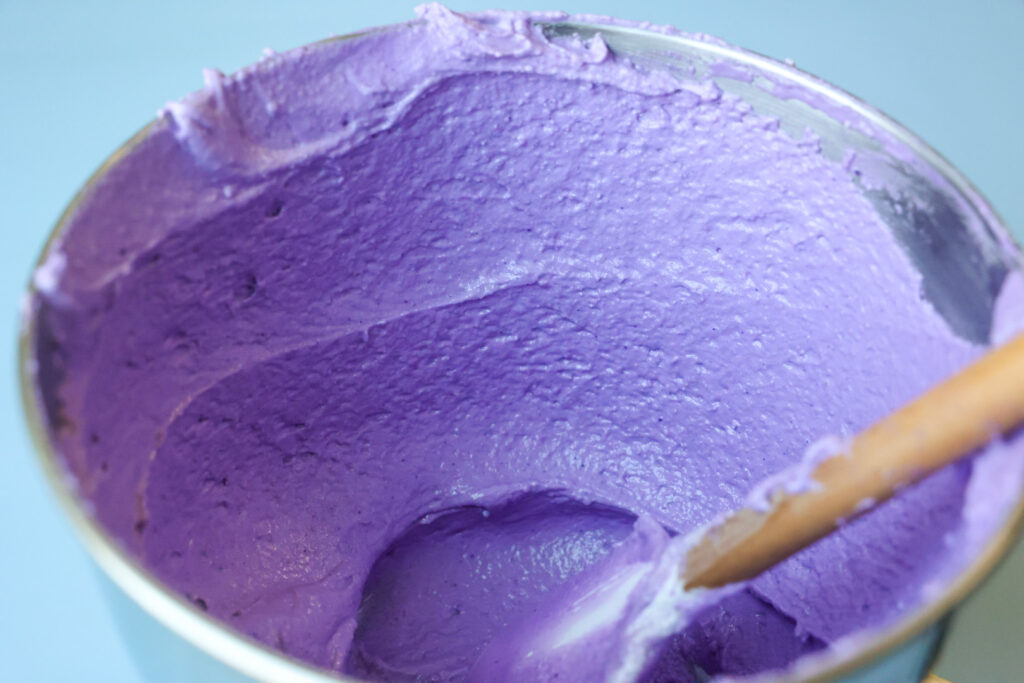
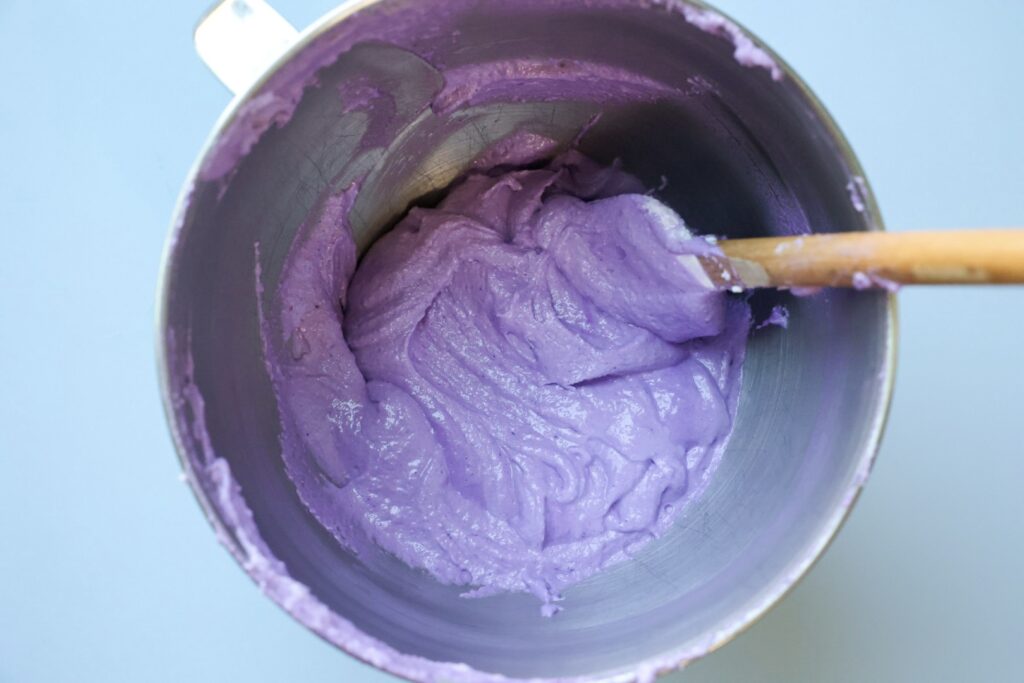
This batter is very thick and will not become runny like a traditional rest recipe. It will not flow like lava, so do not over macaronage tying to get it like a traditional macaron.
Piping the shells
Bag the batter into either 1 large piping bag, or 2 medium with a nozzle of your choice. Ideally there would be a size between the wilton 12 and 2A. 12 is a little small for how thick this batter is, it takes some strength to pipe it, and the 2A is a little large and harder to pipe a flat top. I piped these with the 2A. I will likely be using the 12 from now on or even go back to just snipping the bag. Place your silicone mat on your upside down aluminum tray. Pipe one tray at a time. I usually start piping my second tray when the first has about 6 minutes left in the oven.
Begin piping by placing your bag straight up and down, a 90 degree angle from the pan. To end piping, keeping your nozzle at about the same angle, you’ll want to make a quick swirl. If you notice that you’ve made a nipple or unsmooth section, after piping a few, set you bag down and work them smooth using a toothpick, don’t wait until you’ve piped the whole tray because the tops do dry out a bit and it is much harder to fix later. My mats have 3 circle outlines, I like to pipe just past the second, almost to the 3rd circle. You can manipulate how tall or flat the shells are to an extent with how you pipe it, you will get a feel for that as you go.
Once they’re all piped you can tap the bottom of the tray or drop it on the counter a few times to work air out and smooth those little holes over with a toothpick. If all the steps above were just right there will be very few that you need to fix.
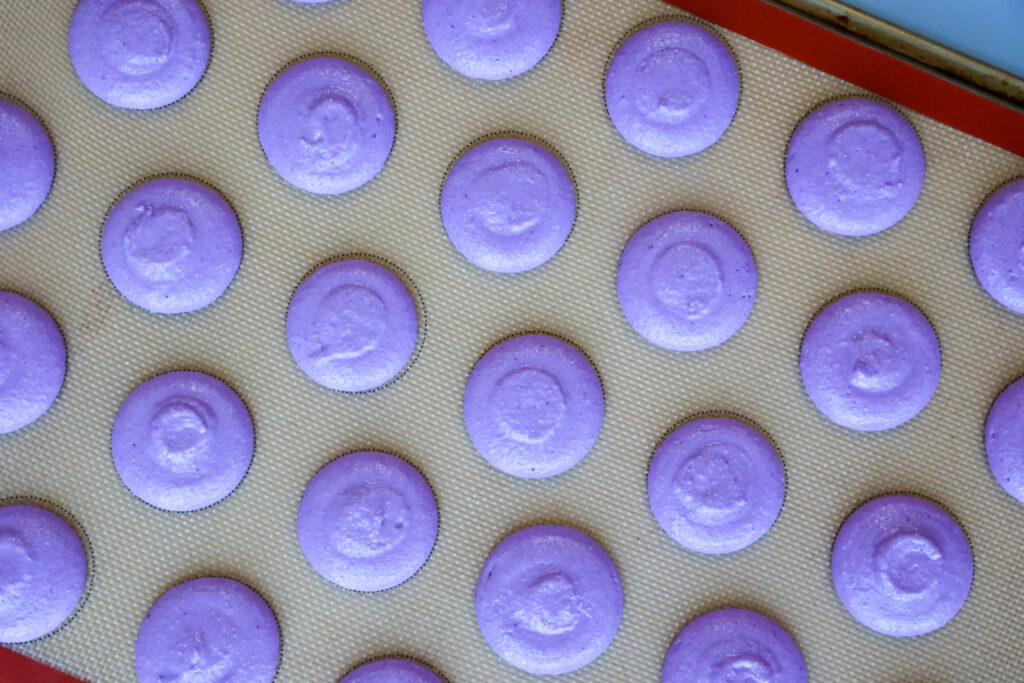
Baking
Check your oven temp, if it’s ready you can place them in the oven. I plan to bake mine around 305 for 15 minutes. I check my oven temp throughout. It usually fluctuates between 295-310 throughout and it takes 14-15 minutes in my oven. If this temp doesn’t work for you and you’ve baked macarons at another temp in the past I recommend trying that temp and adjusting cook time.
Watch them inside the oven, around half way though they start to puff up and get feet, then towards the end the feet will start to shorten. I like to check for doneness a few minutes before my timer so that they don’t over bake (every tray can be slightly different). I check with the wiggle test. Carefully open the oven, gently tap the side of the top part of the shell, if it moves easily it needs more time. I consider my tray done perfect if a shell on the outside of the tray does not wiggle at all, but a shell on the inside has a tiny shift when touched.
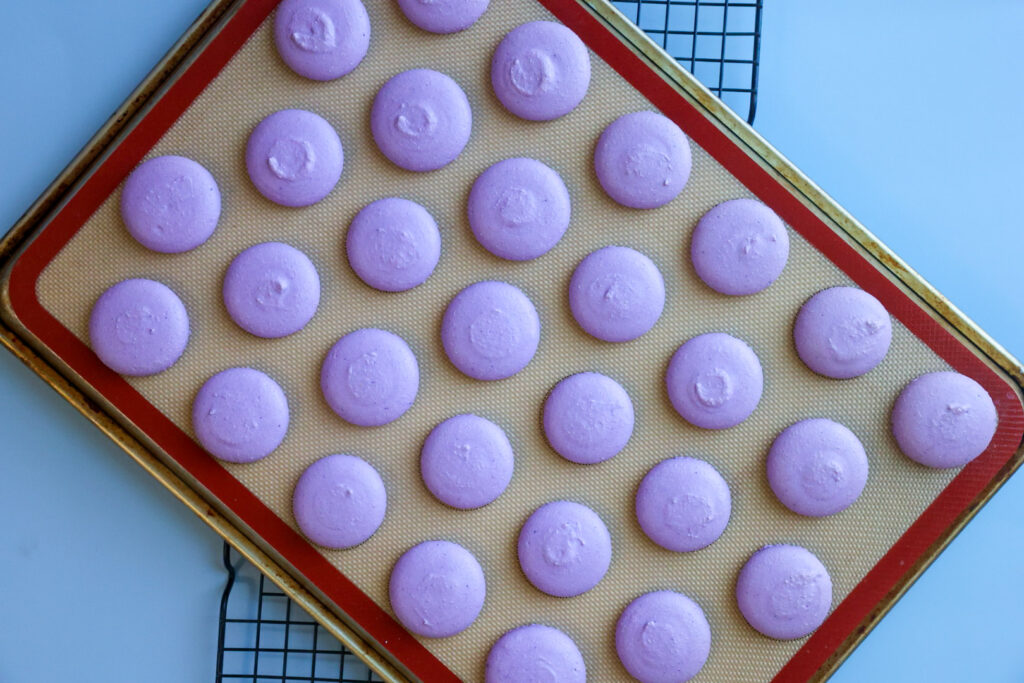
When they are done remove them and set them on a cooling rack for a few minutes. Then carefully remove the pan leaving them to cool completely on the silicone mat, on the rack.
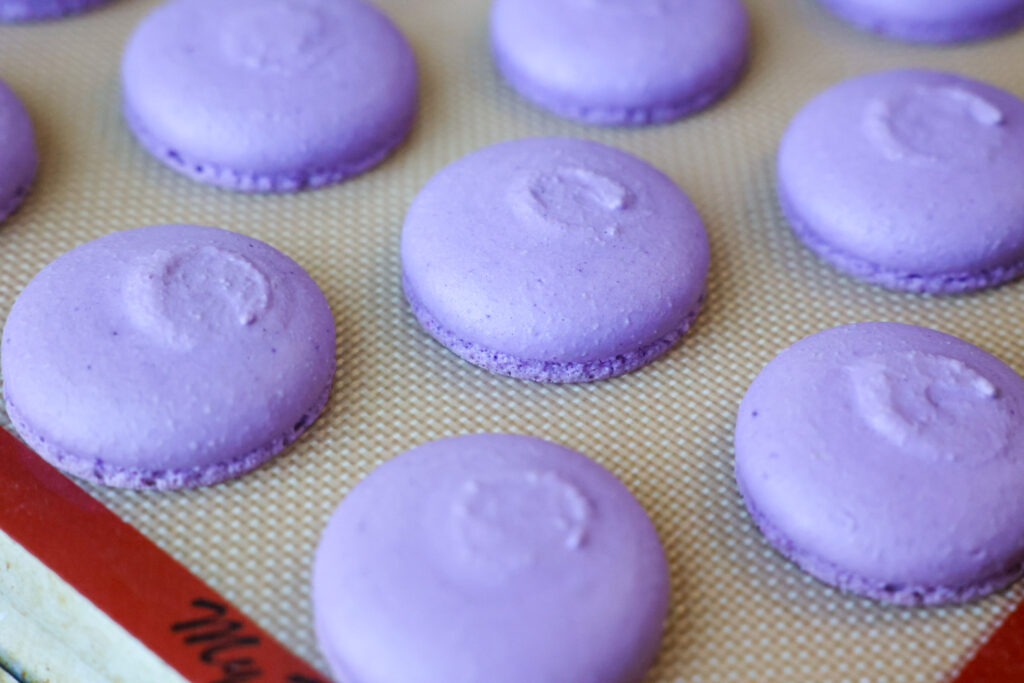
Once they are totally cool, you can remove them. They should release very easily. Especially the outside of the mat. If the ones on the inside have a slight stick, I find it best to bend the silicone mat to help it peel away. If they are sticking to the mat, they are undercooked and you should increase your cook time next time.
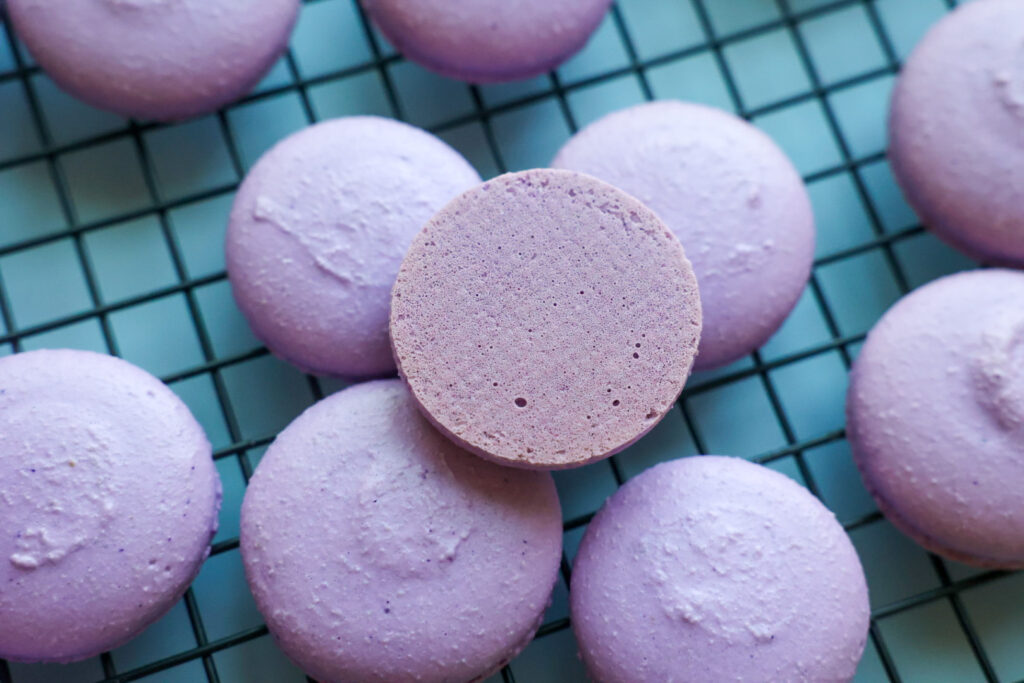
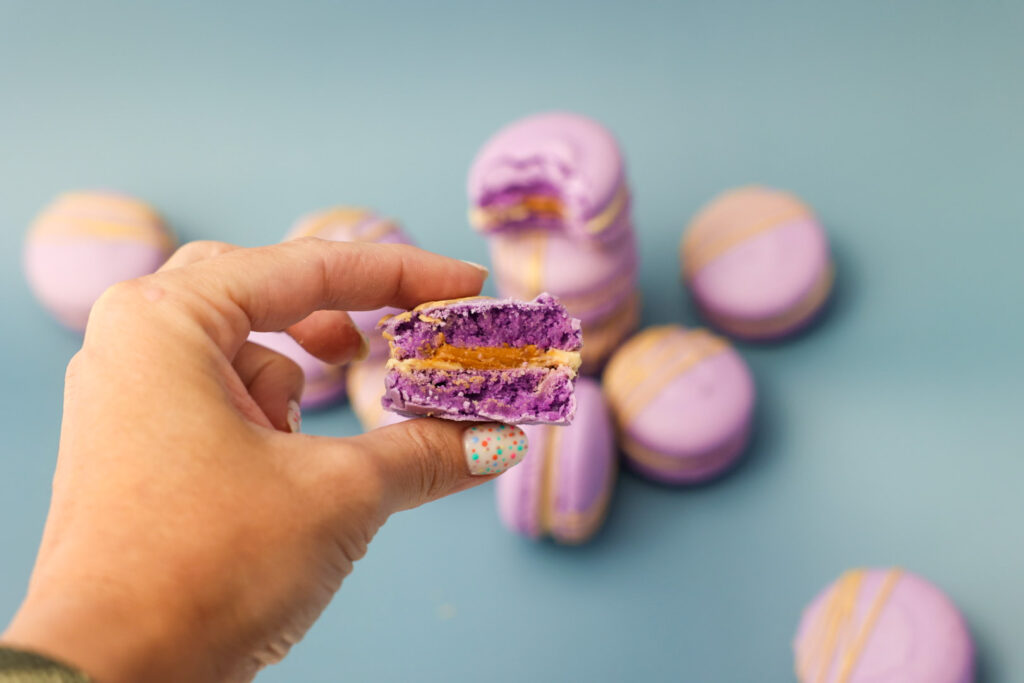
Fill them and let them mature in an airtight container in the fridge. I sometimes have a small gap that fills in once they have matured in the fridge by absorbing some liquid from the filling. A small gap is not the same thing as a hollow and is totally acceptable in a macaron.
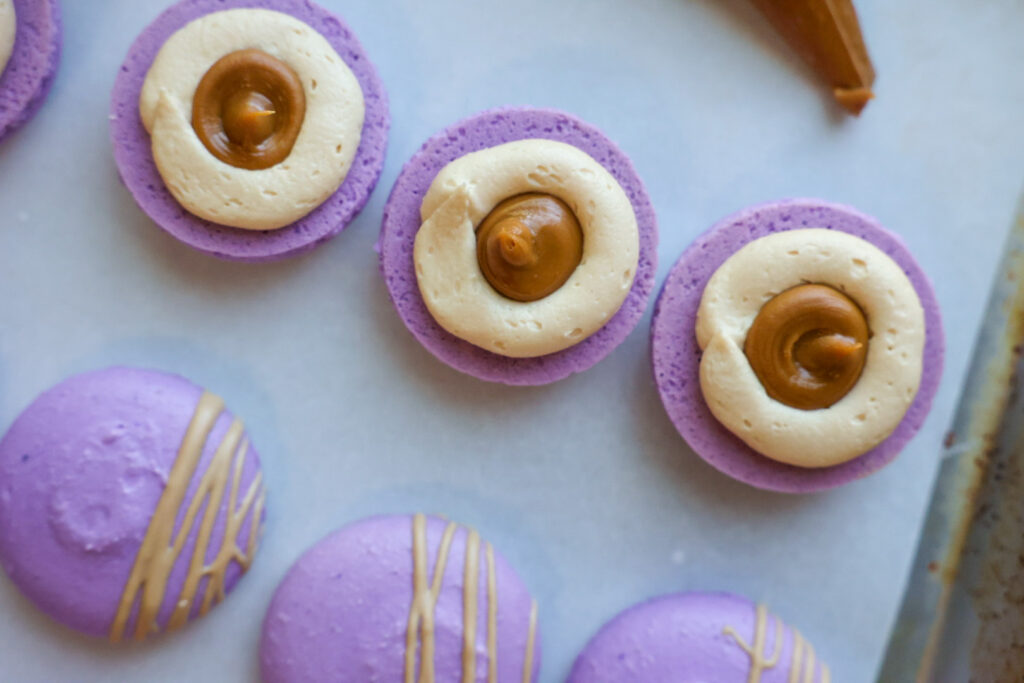
You can do it! They’re just cookies! Now go get to work!
If you try this recipe I would love to see it! Message me on social media, sometimes I don’t get notified of a tag!
You may also like my Chocolate No Rest French Macaron Shells.
No Rest French Macaron Shells
Equipment
- mixer with whisk attachment
- silicone baking mat or parchment
- aluminum baking trays
- sifter
- spatula
- kitchen scale
- oven thermometer
- piping bag with nozzle
Ingredients
- 120 g egg whites, straight from fridge is ok
- 115 g granulated sugar
- 5 g egg white powder
- 180 g confectioners sugar
- 190 g Almond flour, Blue Diamond or Kirkland brand is best
Instructions
Making the Meringue
- Preheat your oven to 305 degrees, you must use an oven thermometer for this.*
- In a bowl combine your granulated sugar and egg white powder and stir so that it is combined totally, we do this so the egg white powder doesn't clump when added in the liquid egg white.
- Measure out your egg whites and put them into your mixer bowl. I like to use the two bowl method to prevent having to waste other eggs if a yolk breaks, the fat from the yolk will ruin meringue. Crack one in a separate bowl, if there are no issues put it in the mixer bowl to be weighed. Then repeat.**
- Add the sugar mixture to the egg whites and get your mixer ready with the whisk attachment.
- Start your mixer on the lowest setting and give it about 10 seconds, you're going to do about 10 seconds at each setting until you hit 6 or medium high and then you will let it go until it's ready. I timed mine once and it took about 6 minutes but the amount of time it takes can vary for many reasons.
- We stop it when it is stiff peaks, we do not go past the peaks stage to the shaving cream phase. When you detach your whisk and circle it around in the meringue you will feel slight resistance, when you pull it up from that circle it will pull and make a peak, when you flip that whisk straight up, the peak will curl over.
- While your meringue is working in the mixer, weigh and sift your almond flour and sugar. Do not force ingredients though the sifter.
Macaronage
- When the meringue is ready, remove the bowl from the mixer and add all of the dry ingredients in. Start moving the dry ingredients around to incorporate it some. Don't worry about the meringue, it will be fine. Once it's a little more manageable, (this is where I like to add gel color drops if I'm coloring it) I like to start spreading it on the sides of the bowl, then take my spatula to collect it all back to the bottom center by taking the side of the spatula with pressure around the bowl and down, when my spatula is at the bottom center, I scoop upwards to see how well the batter is flowing. I repeat this process until the batter is ready. In the beginning stages, when the batter is spread on the side of the bowl, you can run your spatula back and forth over the batter to work out some air. Each time I spread my batter on the side of the bowl, I note the amount of (popped) air pockets that seem to be present. It will decrease as you go. The batter is ready when the air pockets are reduced to few (some are ok we don't want it totally deflated) and when the batter is able to flow off the spatula after a circle and scoop mentioned above. This batter is very thick and will not become runny like a traditional rest recipe. It will not flow like lava, so do not over macaranage tying to get it like a traditional macaron.
- Bag the batter into either 1 large piping bag, or 2 medium with a nozzle of your choice***
Piping the Shells
- Place your silicone mat on your upside down aluminum tray. Pipe one tray at a time. I usually start piping my second tray when the first has about 6 minutes left.
- Begin piping by placing your bag straight up and down, a 90 degree angle from the pan. To end piping, keeping your nozzle at about the same angle, you'll want to make a quick swirl. If you notice that you've made a nipple or unsmooth section, after piping a few, set you bag down and work them smooth using a toothpick, don't wait until you've piped the whole tray because the tops do dry out a bit and it is much harder to fix later. My mats have 3 circle outlines, I like to pipe just past the second, almost to the 3rd circle. You can manipulate how tall or flat the shells are to an extent with how you pipe it, you will get a feel for that as you go.
- Once they're all piped you can tap the bottom of the tray or drop it on the counter a few times to work air out and smooth those little holes over with a toothpick. If all the steps above were just right there will be very few that you need to fix.
Baking
- Check your oven temp, if it's ready you can place them in the oven. I plan to bake mine at 305 for 14 min. I check my oven temp throughout. It usually fluctuates between 295-310 throughout and it takes 14-15 min in my oven.*
- Watch them inside the oven, around half way though they start to puff up and get feet, then towards the end the feet will start to shorten. I like to check for doneness a few minutes before my timer so that they don't over bake (every tray can be slightly different). I check with he wiggle test. Carefully open the oven, gently tap the side of the top part of the shell, if it moves easily it needs more time. I consider my tray done perfect if a shell on the outside of the tray does not wiggle at all, but a shell on the inside has a tiny wiggle.
- When they are done remove them and set them on a cooling rack for a few minutes. Then carefully remove the pan leaving them to cool completely on the silicone mat, on the rack.
- Once they are totally cool, you can remove them. They should release very easily. Especially the outside of the mat. If the ones on the inside has a slight stick, I find it best to bend the silicone mat to help it peel away. If they are sticking to the mat, they are undercooked and you should increase your cook time next time.
- Fill them and let them mature in an airtight container in the fridge. I sometimes have a small gap that fills in once they have matured in the fridge by absorbing some liquid from the filling. A small gap is not the same thing as a hollow and is totally acceptable in a macaron.


Thank you! I just wanted to say thank you for posting this recipe. I can’t wait to try it. Also, thank you for posting a perfectly imperfect macaron picture. I agree with what you said in the post about baking being a labor of love and I hope you keep sharing with us even the imperfections. I’m a home baker and I’ve many time thought of creating a blog, but often feel discouraged. You have inspired me to put myself and my bakes out there. Thank you for being you!
aw thank you so much Samone! I hope you do.
Thank you so much for sharing this amazing and delicious recipe.
Hey Kristin! Came here because I am no scaredy cat haha! But alas, my shells came out terribly, all had very wrinkled tops… which part did I mess up?? Also, wanted to say I’m so happy I stumbled on your page, love to see your videos and you’re very inspiring!
hahaha. you certainly aren’t a scardy cat! It sounds like probably over Macaronage, which is the number one thing people do with my shell recipe! On my instagram, there’s a highlight bubble called macarons. I posted over macaronaged shells, maybe compare them! Usually one rmacaronaged are super soft, can be wrinkled on top (like brownies) feet are spread a little. DM me there if there’s more to it! Im so glad you tried!
I want to
Thank
You for this recipe , its simple straightforward and it tastes great , i am
Happy with my results , i even used one batch for 3 different colors and it worked with me , with the old recipes i was afraid to do this .
Thank you so much for you kind words! Im very happy its working for you!!
You are killin it girl!!! Congratulations on the website. Go forth and flourish!! XXXXXX
oh my goodness! thank you so much!!
Hi! I would love to know if you have try the recipe without egg white powder or with cream of tartar cause where I live (in México) it’s impossible to find the egg whites powder 🙁 I only found out albumin but I read it’s not the same.
Hello. I have not tried with out the egg white powder because it is very humid in Florida and is necessary for me. Albumin is the same as long as it is the only ingredient and is powder!
Your macarons are the best. -James Botts
This recipe is awesome! If you’re a beginner definitely try this out as it is a little more straight forward than other macaron recipe.. no slowly pouring the sugar in, no resting period, and amazing macaron shells!
Thank you so much Mariah!!! Your shells looked amazing!
Do you make a chocolate shell with this method?
Hey Nicole. I haven’t done it yet. I usually just put the chocolate flavoring in the center. You could sub some dry ingredients for some cocoa powder. I haven’t tested amounts yet!
Beautiful!!! Love your macarons Kristin!!!!
I love you and your endless support! thank you so so much!
This is the first recipe I’ve tried (of many) that I was successful with! THANK YOU!!! How long do they stay good for, filled, in the fridge?
Thank you Arielle! Im so glad it was!!!
Thank you so much for this recipe. I just made them today and they came out perfect
That makes me so happy!! So glad!
Kristin, thank you for sharing this recipe! I’ve only made macarons a few times and they’re never perfect – I don’t strive for perfect because my family will eat it regardless, but I would love to keep trying to get consistent results. I do get feet and that always makes me happy! I’m so interested in your use of powdered egg whites! How does using it make your macarons different from traditional recipes without it? The nerdy chemist in me wants to know and understand 😅. Thanks for your time!
So happy that Kristin made this recipe!! I was having issues getting feet on my macs and they were turning out flat. Tried out Kristins recipe and they were Pure Perfection!!!! The bite was also perfect! Love love love!
Thank you so much Gianna!! I think we kinda start our Mac making Journey about the same time!!
Kristen, love your no rest recipe. The most constant outcome. But I wonder will it still work if I cut back on the sugar?
I meant consistent not constant* (mommy brain) 🤪
Hello Sammy, Im so happy its working for you! In macaron shells, sugar isn’t only a flavor component it is a structure component. If you change the sugar it will change the structure completely. The best way to reduce sugar is by doing that in the filling.
Would you be able to use egg white from a carton?
It would depend on the egg whites. I actually used to always use only egg whites from a carton and then one day I couldn’t get them to whip up into a stiff enough meringue with multiple batches and then I was scarred for life! So the answer is probably yes. You just have to make sure the meringue is stiff enough.
Can these be made without egg white powder?
You could try but Im not sure how successful they would be. It’s an important component to a no rest recipe and it also depends on your baking environment. I live in a very humid area.
I’ve tried several different methods but with yours they turn out more consistent. Do you by chance have a video that shows your process?
Hi Mary, Im so happy to hear that. Thanks for sharing. If you use instagram, I did a live one time and it saved to my feed. If you have any specific questions Im more than happy to answer them here or in my direct messages on instagram!
Since the batter will be thick, how do you know when the Macronage is done?
By looking at the batter. The air bubbles will be greatly reduced like in the photos. It will run some but not flow a lot.
Dear Kristin! Thank you so much for your recipe. I used to make macarons swiss merinque method but humidity is very high at my home. I had to try no rest method. And it is working perfectly. First time was successful.
Thanks you so much for letting me know! You can also try adding 4-5 grams of the egg white powder to your regular recipe and that may help with you other shells too!
Can the egg white powder be substituted for meringue powder? Thanks!
Hi Katie, I wouldn’t recommend it because I believe it has other ingredients in it other than egg whites. Though I think the opposite is true and you can use egg white powder in other things that you use meringue powder for. I will say some people have said they’ve used it with success.
I’ve tried a few macaron recipes and this one is the best. Her instructions are great, the recipe is easy, and I have gotten the best results, consistently with this recipe. I have had friends tell me they are as good as macarons they had in France. Try it!